When you’re new to DIY, the idea of replacing or installing door hinges can seem like a daunting task. After all, hinges play a crucial role in holding up your doors and allowing them to open and close smoothly. But don’t worry! Replacing or fitting door hinges doesn’t have to be a traumatic experience, especially when you have the right knowledge and tools. With a little preparation, you’ll be able to handle this project with ease and confidence.
In this blog, we’re going to walk you through the process of fitting or replacing door hinges—from gathering the necessary tools to installing your new hinges. By the end, you’ll feel like a pro when it comes to door hinge installation.
Installing Door Hinges Is Simple When You Know How
No matter where you live now or in the future, the ability to install door hinges is a useful skill. Once you know the basics, you’ll find that it’s not a difficult job. We’re here to guide you through it step by step, starting with the preparation you’ll need to do before diving into the installation.

How to Prep for Your Door Hinge Installation/Replacement
Before you start installing or replacing your door hinges, it’s important to gather the right tools. The list isn’t long, but using the right equipment will make the job go smoothly. Here’s what you’ll need:
Tools Required:
- Replacement door hinges (make sure you choose the correct size)
- Safety goggles (protect your eyes while you work)
- Tape measure (for accurate measurements)
- Wood filler or wood putty (in case of stripped screw holes)
- Sharp chisel (for carving out the mortise)
- Utility knife (for outlining the hinge placement)
- Piece of wood (to support the door during installation)
- Hammer (to use with your chisel)
- Pencil (for marking the hinge placement)
Pro Tip: It’s also a good idea to have some matchsticks and wood filler on hand, as you may need to deal with stripped screw holes that need to be repaired.
Prep for Installing New Door Hinges
If you’re installing hinges on a brand-new door, things get a little more involved. Since there are no pre-existing holes, you’ll need to trace the outline of the new hinge plates on both the door and the door frame. Use your utility knife to carefully score around the outline before chiseling out the marked depth.
When installing heavier doors that require a third hinge, it’s essential to ensure the hinges are evenly spaced. The top, middle, and bottom hinges should all be placed with equal spacing for the door to function properly.

Hammer & Chisel Out the Mortise
Once the outline is traced, the next step is to carve out the mortise (the recess that holds the hinge). Using your hammer and chisel, carefully chisel out the shape of the mortise to match the thickness of your hinge. The goal is to make a cavity where the hinge leaves can fit comfortably.
Once your hinges fit snugly into place, hold them there and mark the location of the pilot holes on the door and frame with your pencil. These marks will guide your drilling.
Uninstalling Your Old Door Hinge
In most cases, you’ll be replacing existing hinges, so the first step is to remove the old ones. Start by placing a piece of wood under the door to support it while you work. Then, begin by unscrewing the bottom hinge first. It’s important to take care when removing the hinge pins to keep the door from falling over.
Once the bottom hinge is removed, proceed to remove the top hinge in the same manner. Having a helper at this stage can make things easier, especially when dealing with heavier doors.
Check the New Hinge Plate on Both the Door & Door Frame
Before moving forward, check that your new hinges align with the old mortise and ensure that the screws included in the hinge package are the correct size. It’s a good idea to check only one hinge, as the rest should match. This will save you time and frustration later on.
Installing Your New Door Hinges
Whether you’re replacing old hinges or installing new ones from scratch, the process is similar. For standard door installations, the top hinge should be placed 7 inches from the top of the door, and the bottom hinge should be 11 inches from the bottom of the door frame. If you’re installing a third hinge (often needed for heavier doors), it should be placed in the middle, halfway between the top and bottom hinges.
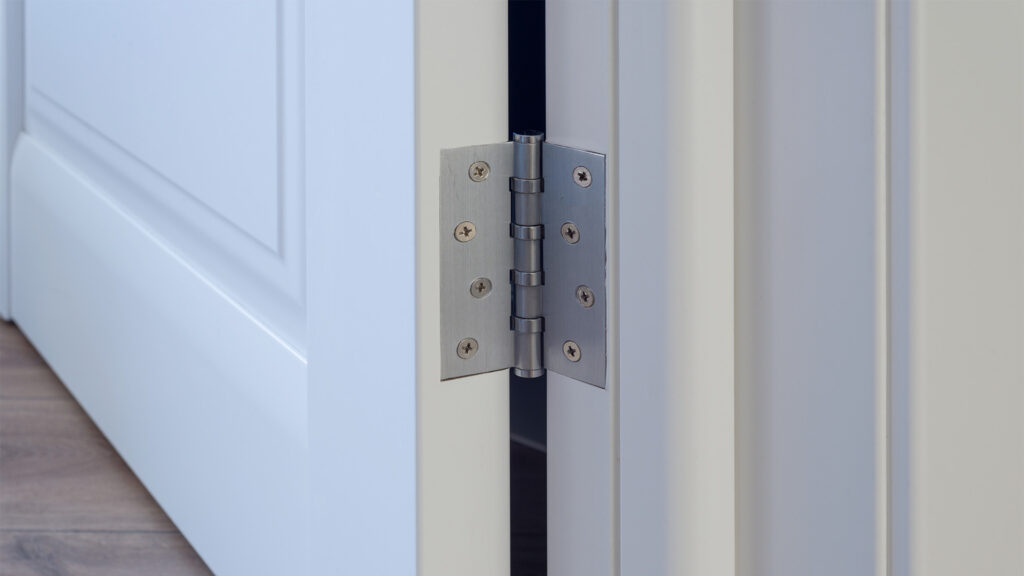
The most common type of hinge used is a butt hinge, which is widely available at most hardware stores. You’ll also find other types, such as flush hinges or ball bearing hinges, depending on your specific needs.

Screwing in Each Individual Door Hinge
With your hinges aligned and in place, the next step is to secure them with screws. For heavier doors, you’ll typically use three hinges, with 3-4 screws per hinge. Lighter interior doors usually only need two hinges, with 2-3 screws. Using a power drill or screwdriver, drive the screws into the hinge plates. Make sure the screws are straight to ensure the door hangs level.
Attaching the Door Back to the Jamb
Now that your hinges are installed, it’s time to reattach the door to the door frame. With the help of another person (if possible), lift the door and line it up with the frame. You may need to place blocks underneath the door to elevate it to the right position.
Once the hinges are aligned, carefully insert the new hinge pin to connect the door to the frame. Repeat the process on the bottom hinge pin.
Test the Door
Once everything is secured, open and close the door a few times to make sure it operates smoothly. This step ensures that the hinges are securely in place and the door is level. If everything feels right, you’re done!
Considerations for Fire Doors
If you’re working on a fire door, there are some additional considerations. Fire-rated door hinges are made from materials like grade 13 stainless steel to withstand the high temperatures of a fire. These hinges help prevent the spread of flames.
Another useful addition for fire doors is intumescent hinge pads, which are flexible strips made of high-grade graphite. These pads are easy to install and provide extra protection by expanding when exposed to heat, helping to seal off the gap around the hinge.
Now You Know…Replacing Door Hinges Is an Easy Skill to Master!
As you can see, replacing or installing door hinges isn’t as difficult as it may seem. With a few basic tools and a little knowledge, you can easily complete the job yourself. Not only will this save you money, but it’ll also give you a sense of satisfaction in knowing you’ve done the job yourself.
At DoorHandleStore, we offer a wide variety of high-quality hinges, door handles, knobs, and accessories to suit every need. Whether you’re looking for butt hinges, flush hinges, or something else entirely, you’ll find what you need in our online store.
We hope you found this guide helpful for your DIY project. If you need more advice, don’t hesitate to browse our other blog posts or check back in for new articles. Happy DIY-ing!


