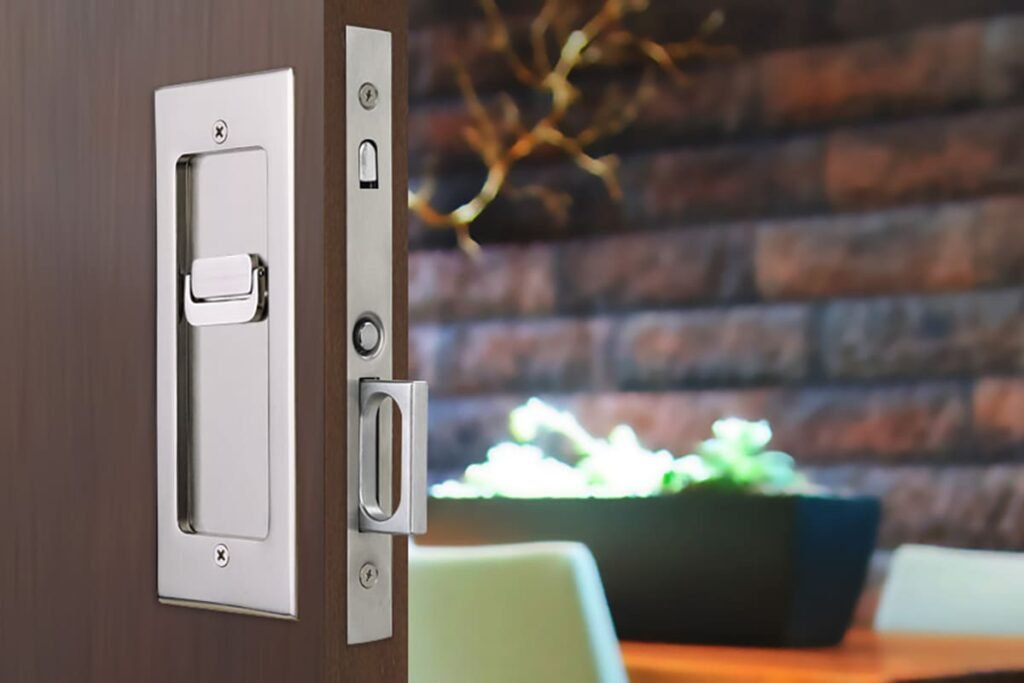
The Art of Invisible Entry: Achieving a Flush, Wall-Seamless Door
A flush, wall-seamless door promises pure minimalism, but the problem is that most doors rely on visible parts that break the illusion. That mismatch frustrates buyers and adds rework on site. The solution is to treat the door as a system: a coordinated, concealed hardware package matched to the door and its use.1
A flush, wall-seamless door requires a full hidden hardware package—concealed lock set, hidden pull, concealed hinge or pivot system, concealed closer, automatic drop seal, and concealed door stop—engineered around the door’s structure, weight, height, opening method, sealing needs, and closing behavior. Without system-level coordination, the “invisible entry” effect fails on day one.

You now have the short answer. The details decide whether your invisible door looks clean for a week or performs for years. I will break down the selection variables, show where buyers commonly over-spec or under-spec, and explain how to pair hardware types for different door scenarios.
Why treat a flush, wall-seamless door as a full hardware system?
The problem is simple: a single concealed hinge cannot erase all visual hardware. The frustration comes when a normal lever handle, surface closer, or exposed door stop ruins the minimalist plane. The solution is a complete, hidden package where every functional part disappears yet still does its job.
The answer is that a flush, wall-seamless door depends on coordinated concealed components. Replace every visible part with a hidden equivalent and engineer the load paths. Concealed locks handle privacy or access control. Hidden pulls preserve the wall-like look. Concealed hinges or pivots support and align the leaf. A hidden closer manages motion. Automatic drop seals and concealed stops finish the system.
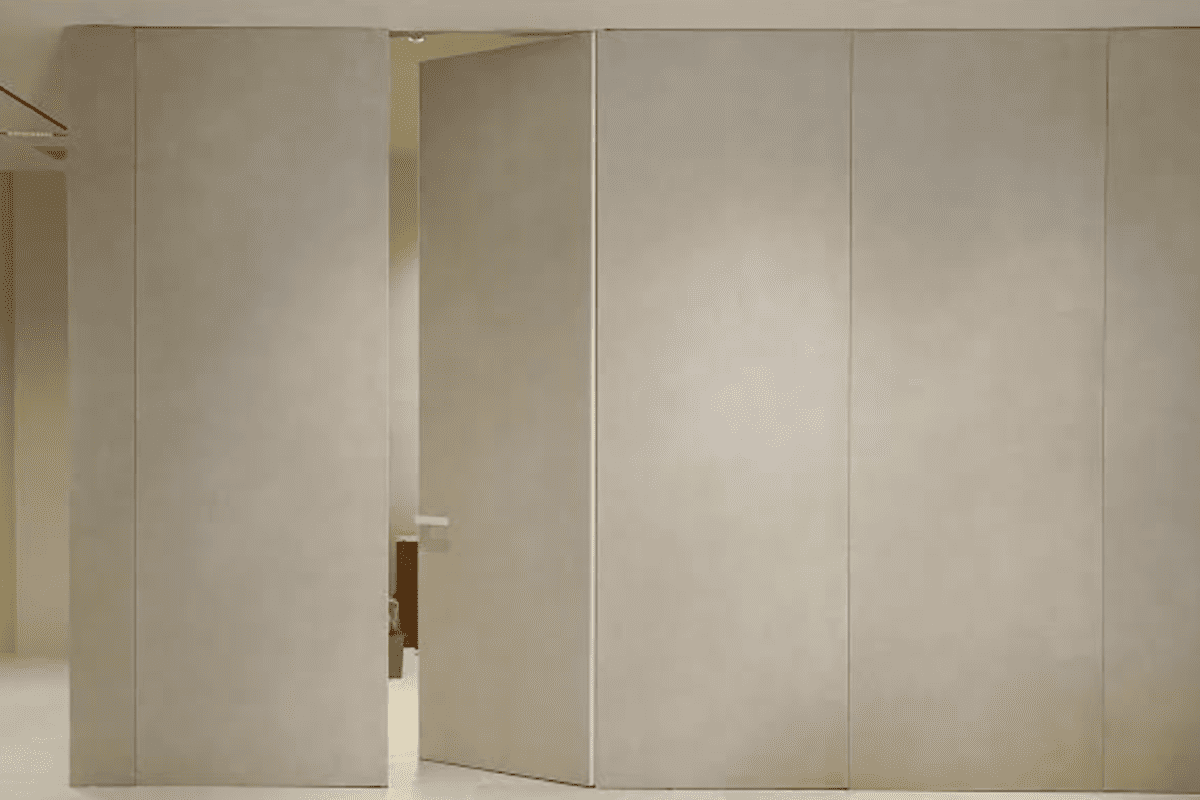
How the system fits together
- Concealed lock set: Provides latch/bolt function without visible furniture.
- Hidden pull: Allows operation without a projecting lever.
- Concealed hinge or pivot: Carries door weight and sets geometry.
- Concealed closer: Controls closing speed and latching force.
- Automatic drop seal: Closes the threshold gap when the leaf shuts.
- Concealed door stop: Protects finishes without a visible stop.
I often see buyers specify a premium concealed hinge, then pair it with a standard lever handle and a surface-mounted closer. The result looks “half invisible.” The better approach treats visibility as an engineering constraint:
- If any surface-mounted part remains, the eye will find it first.
- Hidden parts must still meet load, cycle, and code requirements.
- The door edge, frame, and wall tolerance stack must support the package.
Here is a simple mapping that I share with door factories during early configuration:
| Function | Hidden component | Selection variables | Typical mistakes |
|---|---|---|---|
| Latching/locking | Concealed magnetic lock or Euro mortise lock with concealed trim | Backset, door thickness, privacy vs. keyed, cylinder length | Using standard handle set; misaligned backset with pull |
| Operation | Hidden pull or flush pull with pocket | Handedness, finger clearance, finish compatibility | Flush pull too shallow; no grip with gloves |
| Support/alignment | Concealed hinge or pivot system | Door weight/height, frequency, frame structure | Overweight on small concealed hinges |
| Closing control | Concealed closer or hydraulic concealed hinge | Desired closing speed, force, fire rating | Leaving closer exposed |
| Sealing | Automatic drop seal, perimeter smoke seals | Sound/smoke needs, threshold detail | No threshold planning |
| Protection | Concealed stop (floor or wall) | Opening arc, substrate, maintenance | Relying on drywall to stop the door |
Your invisible entry is a system. Set the system spec first, then pick part numbers.
Which hinge or pivot suits your flush, wall-seamless door?
The challenge is picking one “best” hinge. The stress shows when a 2.7 m leaf sags on small concealed hinges. The solution is to match the support type—concealed hinge, hydraulic self-closing concealed hinge, or pivot system—to door dimensions, weight, and opening frequency.
In general, concealed hinges suit mid-weight doors; hydraulic self-closing concealed hinges add controlled closing but have load limits; and floor-to-ceiling pivot systems support taller, heavier, or frequent-use doors. Your choice depends on door size, weight, opening direction, frame structure, and the aesthetics of a true wall-flush reveal.
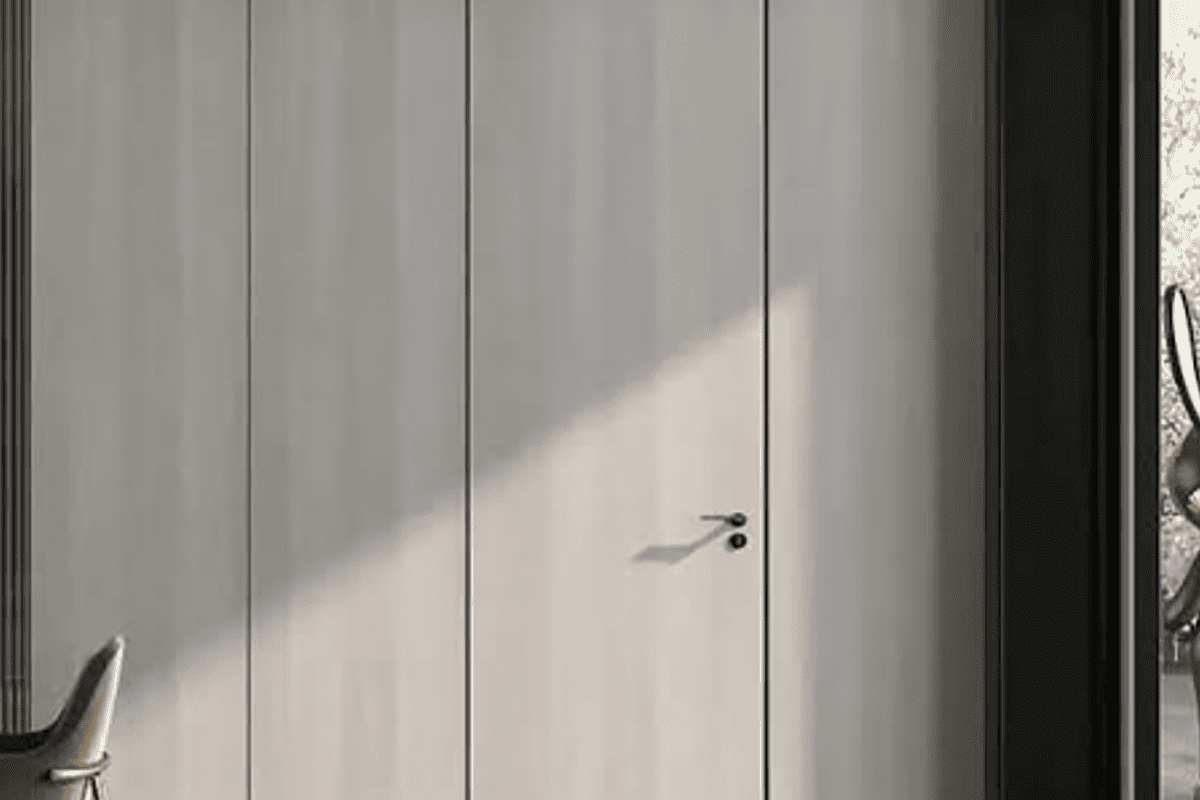
Scenario-based selection
I divide hinge support into three families:
1) Concealed hinges (standard)
- Good for: 35–60 mm thick leaves up to ~70–80 kg and ~2.3 m height.
- Pros: Fully hidden, precise alignment, competitive cost.
- Notes: Requires rigid frame; multiple hinges share load.
2) Hydraulic self-closing concealed hinges
- Good for: Similar sizes as above when you want integrated soft closing without a separate closer.
- Pros: Simplifies parts, keeps closing control invisible.
- Notes: Limited closing force; not a fire door closer substitute; check cycle and temperature performance.
3) Pivot systems (top and bottom pivots; optionally with concealed or floor-spring closers)
- Good for: Tall or heavy doors (2.4–3.0 m+; 80–150 kg+), frequent use, or when the frame cannot carry high screw loads.
- Pros: Transfers weight to floor2; excellent stability; dramatic motion.
- Notes: Requires accurate floor and ceiling coordination; consider threshold detail for drop seals.
Here is a quick comparison:
| Support type | Recommended door weight | Height range | Closing control | Common use case |
|---|---|---|---|---|
| Concealed hinge | ≤70–80 kg | ≤2.3–2.4 m | Separate closer | Standard flush doors |
| Hydraulic concealed hinge | ≤60–70 kg | ≤2.3 m | Integrated | Low-traffic, soft-close |
| Pivot system | 80–150 kg+ | 2.4–3.0 m+ | Integrated or separate | Tall, heavy, or frequent-use |
I have seen projects attempt a 2.6 m leaf with three small concealed hinges. It looked clean at handover, then sagged after a few hundred cycles. The pivot system would have moved the weight to the floor and preserved both the flush look and performance.
Always verify:
- Frame substrate and fastener pull-out values.
- Door core structure and reinforcement plates.
- Cycle tests: 100,000+ cycles for heavy-use doors.3
- CE and fire-rated compliance for applicable markets (verify documents, not just catalog marks).4
When in doubt, over-spec the support and under-spec the number of visible parts—which should be zero.
A flush door can still look “busy” with a standard lever. The friction grows when users cannot comfortably grip a too-small recess. The solution is to pair a concealed lock set with a thoughtful hidden pull that fits the door thickness, intended users, and access control needs.
For a flush, wall-seamless door, use a concealed lock—often a magnetic mortise—with a hidden pull or flush pull. This preserves the plane and still delivers privacy, passage, or keyed functions. Match backset, cylinder length, and pull dimensions to the leaf thickness to avoid misalignment and awkward operation.
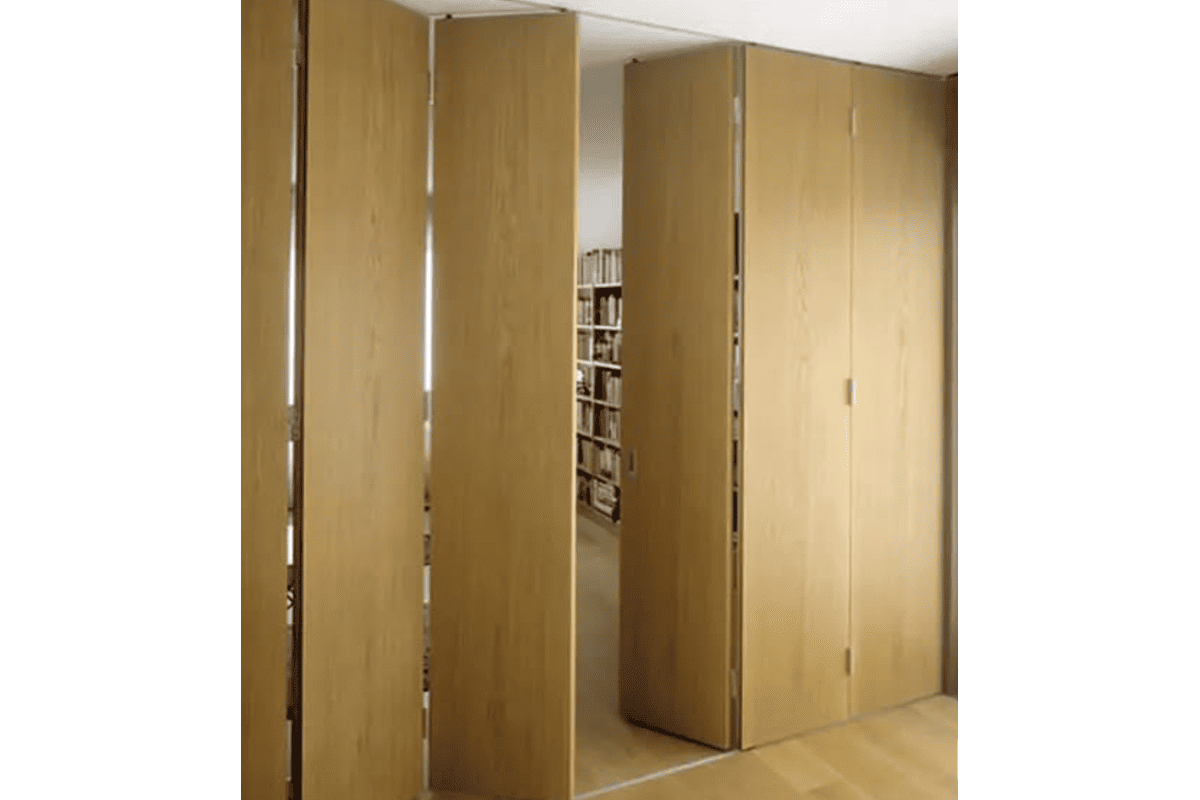
Getting the lock and pull right
Concealed lock options:
- Magnetic mortise locks: Quiet, low-resistance latch; clean edge geometry.5
- Euro mortise locks with concealed trim: Supports Euro cylinder for keyed entries; offers CE-compliant variants.
- Privacy sets: Integrate turn/release discreetly; consider hidden indicator if required.
Hidden pull types:
- Flush pulls with spring-loaded flaps: Close to invisible when not in use.
- Edge pulls: Pop-out pulls integrated into the door edge for swing closures.
- Recessed channel pulls: Continuous groove along the edge for grip without a protrusion.
Key variables to check:
- Backset and door thickness: Ensure the pull and lock cavities do not collide.
- Cylinder length: Match to door thickness; extend through reinforcement if needed.
- Handing and user ergonomics: Left/right hand; glove use; ADA considerations in applicable markets.6
- Finish durability: Hidden parts still get touched; pick abrasion-resistant finishes.
Common B2B mistakes I see:
- Lever handle specified “for convenience,” which kills the seamless look.
- Pull depth too shallow, making the door hard to open.
- Lock backset incompatible with a deep hidden pull cavity.
- Ignoring access control: if you need readers or electrified strikes, plan concealed routes early.
At SDH Hardware, I usually ask for a simple drawing: door thickness, core material, and the lock/pull centerlines. Ten minutes of drawing exchange avoids a week of site rework.
Do you need a closer and stop for a flush, wall-seamless door?
The problem appears on day two: the door slams or drifts open. A visible closer ruins the effect, and a missing stop damages the wall. The solution is a concealed closer when closing control matters, plus a concealed stop to protect finishes.
A flush, wall-seamless door still needs controlled motion. Use a concealed closer (in-jamb, floor spring for pivots, or integrated hydraulic concealed hinges for lighter doors). Pair it with a concealed stop—floor-recessed, magnetic in-wall, or integrated in the closer mechanism—to prevent over-swing without visible hardware.
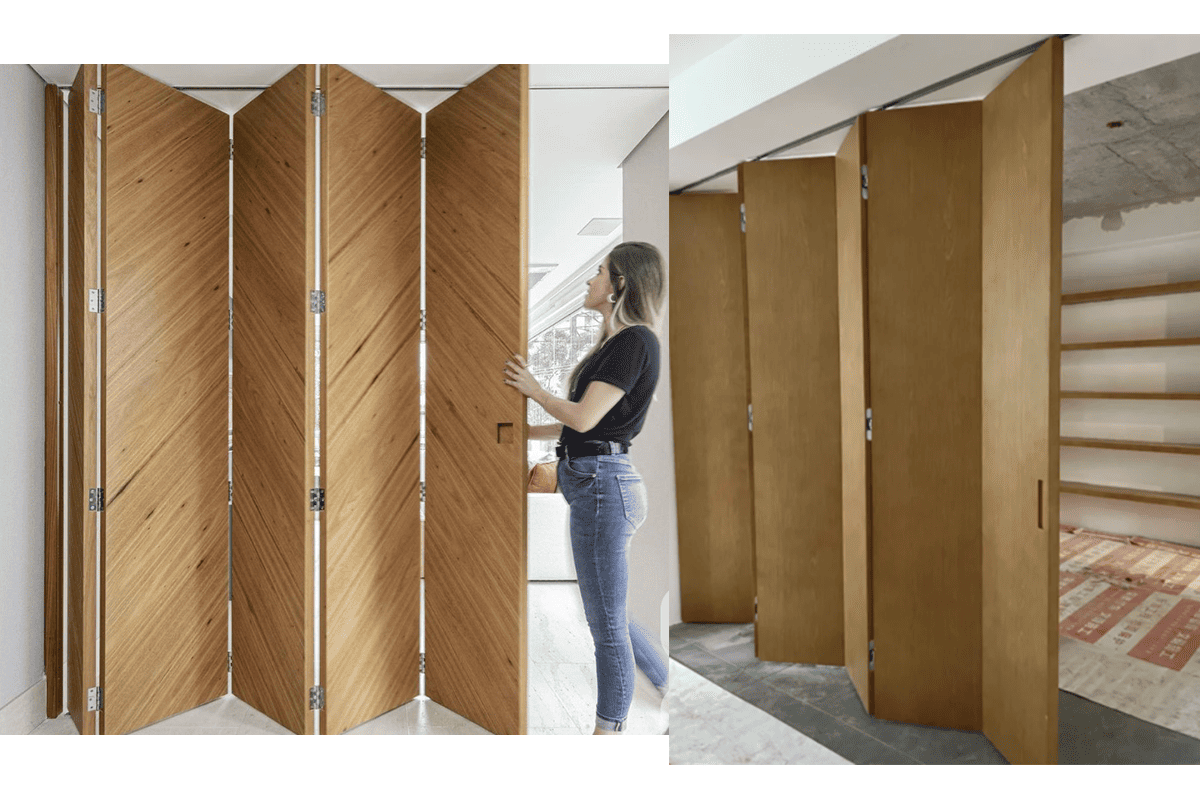
Closing control and protection options
Concealed closer options:
- In-jamb concealed closer: Fits within the frame or head; allows adjustable closing speed and latching force; check door thickness and frame depth.
- Floor spring (for pivot systems): Excellent for heavy or tall doors; integrates hold-open or soft-close; requires precise floor coordination.
- Hydraulic self-closing concealed hinges: Simplify lighter doors where mild closing control is enough; not ideal for fire-rated egress unless certified as such.
Concealed stop options:
- Flush floor stop with minimal cap: Nearly invisible; consider cleaning and maintenance access.
- Concealed magnetic stop: Embedded in wall or floor; catches a ferrous plate in the door; elegant but requires accurate alignment.
- Integrated stop within closer/pivot: Some systems limit the swing angle internally; check the required opening arc.
What to check:
- Closing force vs. latch size: A magnetic latch needs less force; a mechanical latch may need a higher final-speed bump.
- Fire-rated requirements: Use certified closers for compliant assemblies; verify documents and local approvals.7
- Cycle life: 100,000–200,000 cycles for commercial use; test in your door substrate, not only in supplier rigs.
- Maintenance access: Concealed does not mean inaccessible; ensure service covers or screws are planned.
I have watched teams add a surface closer after handover because of drift or slam complaints. The fix erased the invisible design in one day. Plan closing and stopping from the start.
How do you seal and silence a flush, wall-seamless door?
The gap at the floor is the culprit for dust, light, and sound leakage. The frustration grows when rooms “look” sealed but fail the acoustic or smoke goals. The solution is an automatic drop seal plus appropriate perimeter seals that keep the look while closing the gaps.
A flush, wall-seamless door benefits from an automatic drop seal at the threshold and discreet perimeter seals. The drop seal lowers when the door closes, reducing light, dust, and sound leakage. Select seals based on required decibel reduction, smoke control, and finish compatibility. Coordinate threshold details early.
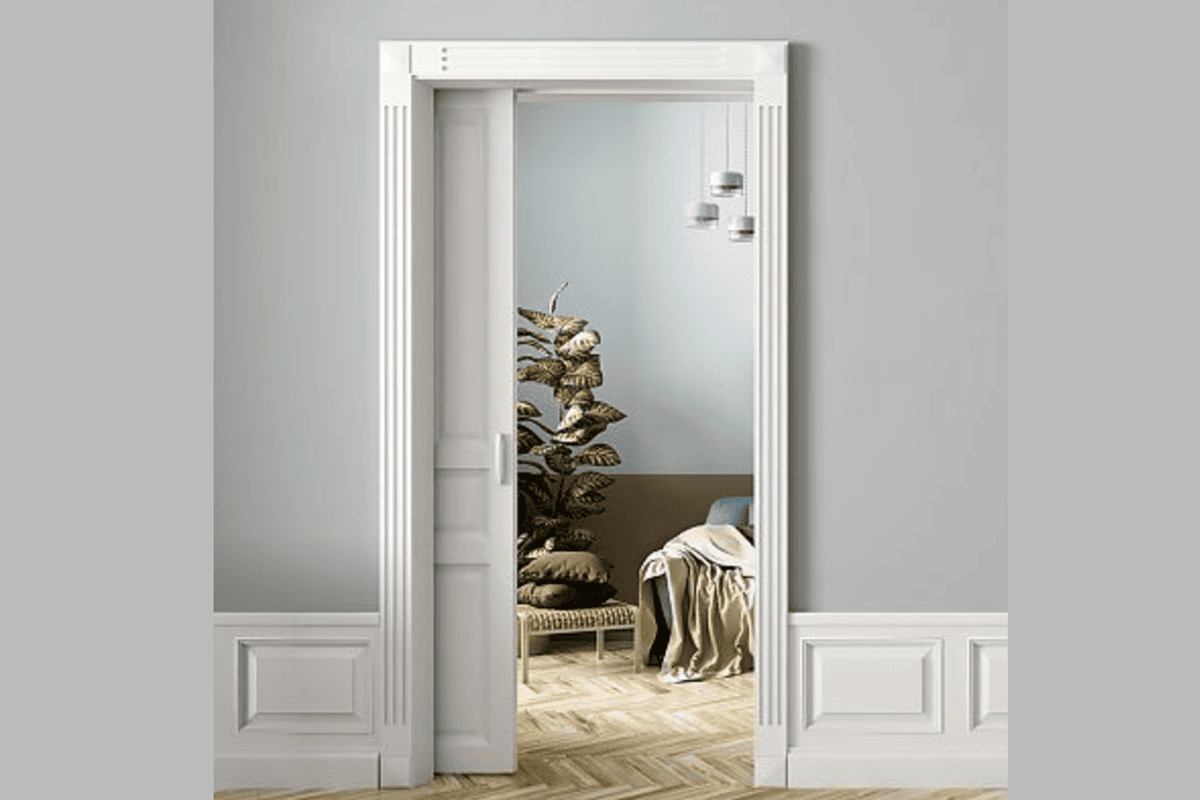
Sealing without compromising invisibility
Automatic drop seals:
- Function: A cam lowers a seal bar only when the door closes, then retracts during opening to avoid dragging.8
- Performance: Typical improvements of 3–6 dB in sound reduction versus no threshold seal; varies by construction.9
- Integration: Requires a routed pocket in the bottom edge; allow for end-caps and adjustment screws.
Perimeter sealing:
- Smoke and acoustic seals in the frame or on the door edge can be low-profile and color-matched.
- For pivot doors, consider specific perimeter kits that accommodate the pivot offset.
Threshold strategies:
- Flush threshold with recess for drop seal landing; ensures no visible strip.
- Minimal saddle or plate in high-traffic areas; balance performance and cleanability.
Checks and cautions:
- Gap control: Target consistent 2–3 mm perimeter gaps; uneven gaps kill both sealing and the visual line.10
- Substrate movement: Seasonal movement affects gaps; allow adjustability.
- Fire/smoke-rated doors: Use tested and certified seal sets; verify test reports and traceability.
Drop seals are not decorative extras. They finish the invisible entry by closing the last visible and functional gap.
How should buyers specify a flush, wall-seamless door package?
The confusion arises when teams buy parts independently and hope they fit on site. The pain shows in misaligned backsets, over-stressed hinges, and last-minute visible fixes. The solution is a coordinated specification that aligns door construction, hardware, and installation tolerances.
To specify a flush, wall-seamless door, start with door size, weight, core, and frame structure. Select the support type (concealed hinge or pivot), then match a concealed lock set, hidden pull, concealed closer, automatic drop seal, and concealed stop. Verify CE/fire-rated certifications, load/cycle data, and installation templates with your supplier.
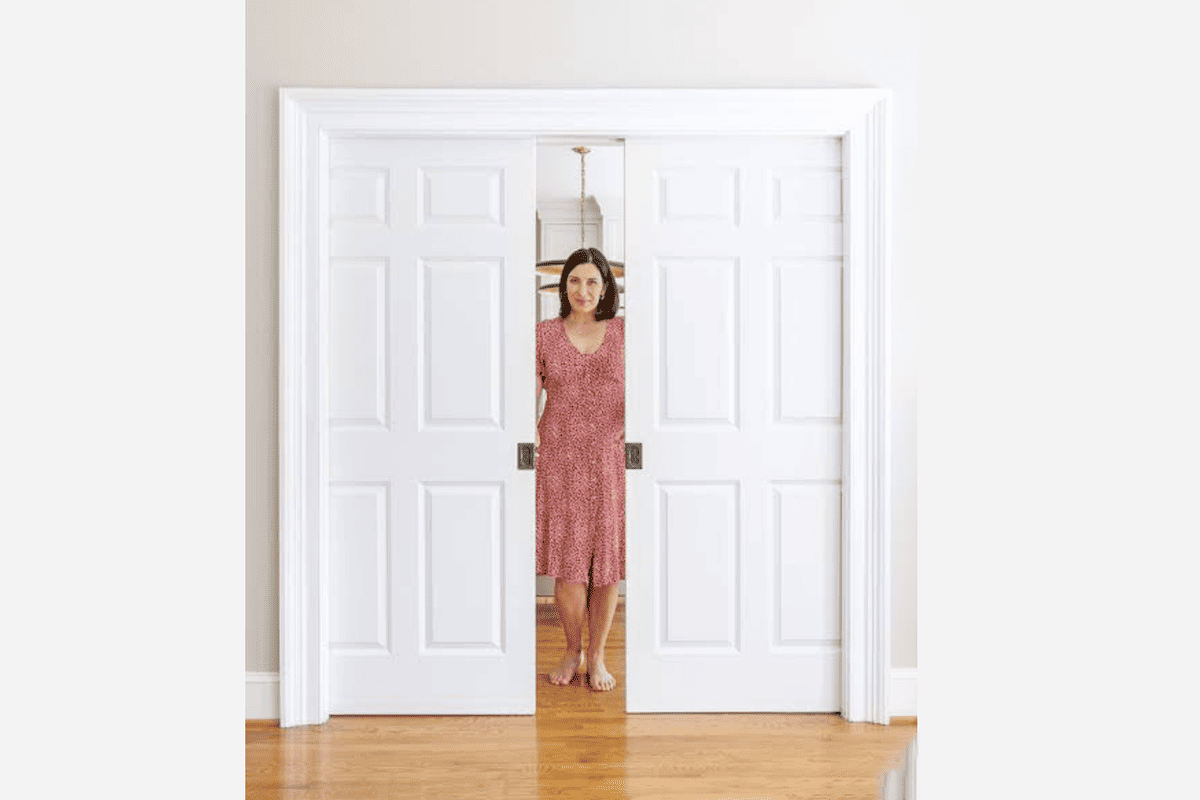
A practical B2B specification workflow
1) Define the door
- Dimensions: Height, width, thickness (e.g., 2400 x 900 x 45 mm).
- Weight: Estimate from core and finish (e.g., 65 kg).
- Core: Solid wood, engineered, aluminum honeycomb, etc.
- Frame: Subframe material and fixation to the wall system.
2) Choose the support
- Concealed hinges vs. hydraulic concealed hinges vs. pivot system.
- Consider frequency of use and closing behavior.
3) Select the operating hardware
- Concealed lock set: Magnetic or Euro mortise; backset and function (passage, privacy, keyed).
- Hidden pull: Dimensions, finger clearance, handedness, finish.
4) Decide closing and protection
- Concealed closer or integrate hydraulic control in hinges.
- Concealed door stop solution; opening angle and position.
5) Seal and tolerance plan
- Automatic drop seal: Model, routing detail, adjustability.
- Perimeter seals: Smoke/acoustic needs; color matching.
- Tolerance stack: Set target gaps and shimming strategy.
6) Compliance and verification
- CE marking, fire-rated certification: Request documents for specific models and configurations.
- Cycle and load testing: Ask for data relevant to your door weight.
- Installation templates and CAD: Ensure you receive accurate drilling/routing guides.
7) Pilot and QA
- Build a pilot door set. Check reveal uniformity, closing speed, latch engagement, and seal contact.
- Adjust templates as needed before production batches.
From my manufacturer perspective, the biggest after-sales issues come from uncoordinated combinations. A precise specification reduces risk and keeps the invisible design intact.
How do you avoid visible “gotchas” on a flush, wall-seamless door?
Small visible details can undo months of careful planning. The frustration often comes from later add-ons: access control readers, signage, or aftermarket stoppers. The solution is to anticipate all functions and integrate them into the concealed plan from the start.
Avoid visible breaks by aligning all functions with hidden solutions. Plan wiring for access control through the frame; use concealed readers or edge sensors when possible. Coordinate signage and inspection panels. Keep service access discreet. Most importantly, never “temporarily” add visible hardware that becomes permanent.
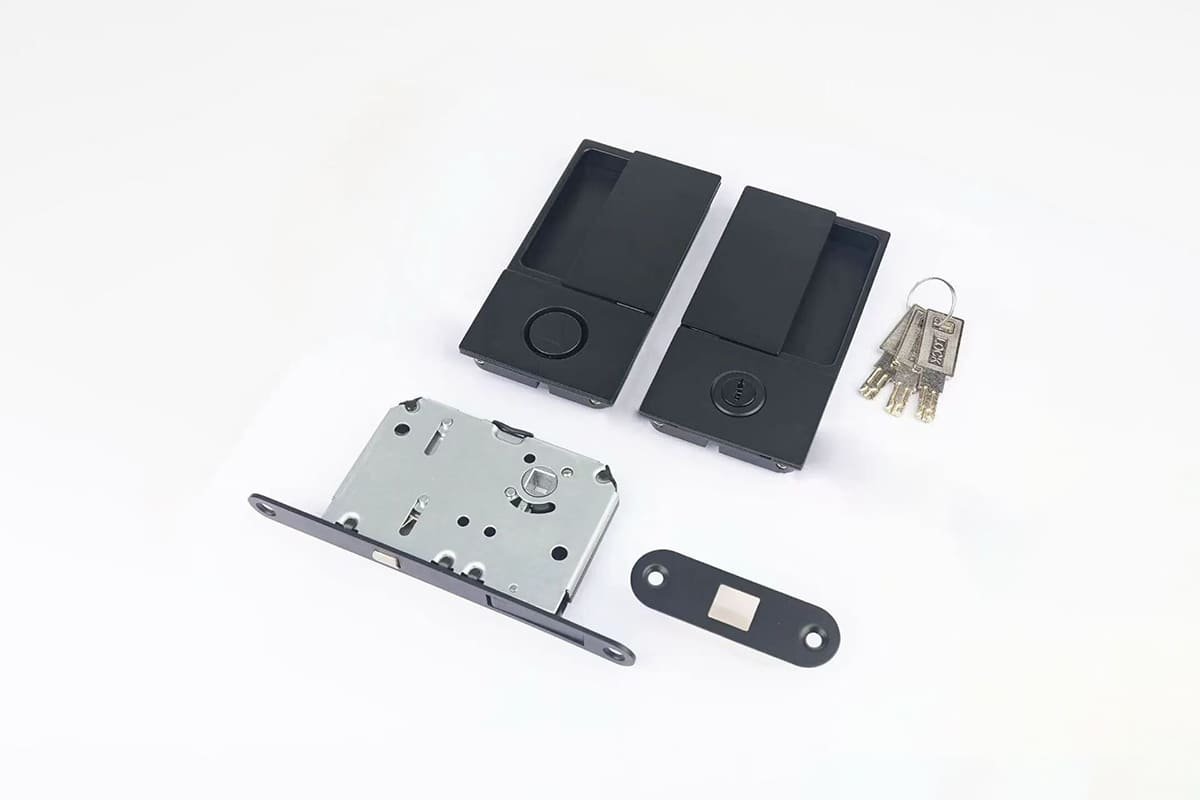
The “enemy list” and how to neutralize it
Common visibility traps:
- Lever handles and rosettes: Replace with hidden pulls or edge pulls.
- Surface closers: Use in-jamb or floor-spring closers; hydraulic concealed hinges for light doors.
- Surface stops: Use concealed floor or magnetic stops, or internal swing limiters.
- Exposed readers or strikes: Integrate electrified locks and concealed reader solutions where codes allow.
Planning for services:
- Route cables through the frame with concealed grommets and slack loops.
- Provide a hidden access panel inside the frame or adjacent wall niche for maintenance.
- Specify finish-matched cover caps where unavoidable.
Quality control checks:
- Mock-up the entire assembly with all hidden hardware installed.
- Inspect from eye-level and oblique angles for any protrusions, mismatched finishes, or non-flush elements.
- Document torque settings for hinges/pivots; set closer valves per spec; record seal adjustments.
When teams ask me, “What ruins the invisible door most often?” my honest answer is a last-minute visible fix. Resist it by planning ahead with the right concealed hardware tools.
Frequently Asked Questions
Can I use a standard lever handle on a flush, wall-seamless door?
You can, but it defeats the purpose. A lever handle becomes the most visible element on a minimalist plane. Use a hidden pull, edge pull, or a flush pull with a spring flap. Pair it with a concealed lock set to maintain both function and the seamless look.
Are hydraulic self-closing concealed hinges enough, or do I still need a closer?
It depends on door size, weight, and required closing force. Hydraulic concealed hinges can control lighter doors and low-traffic applications. For taller, heavier, or fire-rated doors, a concealed in-jamb closer or a floor-spring closer (for pivots) provides reliable, adjustable control and certification pathways.
What tolerances should I plan to achieve a flush, wall-seamless door?
Plan consistent 2–3 mm perimeter gaps, with a straightness tolerance of ±0.5 mm per 1,000 mm on the frame and leaf. Ensure the wall, frame, and door align. The final flush effect depends on door, frame, wall, and installation accuracy. Include adjustable hardware and shimming space.
Can I make a flush, wall-seamless door fire-rated?
Yes, but only with fire-tested and certified assemblies.11 Concealed hinges, closers, and seals must be part of a tested configuration. Verify CE and international fire-rated certificates with actual documents. Engage a qualified professional to confirm local code compliance and application-specific details.
How much acoustic improvement can I expect from an automatic drop seal?
Results vary by construction, but a quality drop seal typically improves sound reduction by around 3–6 dB compared to an unsealed threshold. Combine it with perimeter acoustic seals and a solid core to maximize performance. Always test the complete assembly in your specific door and frame.
Conclusion
A flush, wall-seamless door is not about one clever hinge. It is a coordinated, concealed hardware system—lock set, hidden pull, hinge or pivot, closer, drop seal, and stop—engineered around the door’s structure and use. If you want fewer after-sales issues and a truly invisible entry, let’s specify the right package together. SDH Hardware can provide CE-compliant, fire-rated options, samples, CAD drawings, and factory-direct support for your next project.
"087100 – DOOR HARDWARE - Facilities and Campus Services", https://fcs.cornell.edu/087100-door-hardware. Institutional architectural-hardware guidance supports the view that door performance depends on coordinated selection of hinges, locks, closers, seals, and stops as a compatible hardware set; this supports the article’s system-level framing rather than proving any single concealed package is universally required. Evidence role: expert_consensus; source type: institution. Supports: Professional door-hardware guidance treats door operation, latching, closing, sealing, and protection as coordinated specification items rather than independent purchases.. Scope note: The support is contextual design guidance, not a direct test of one flush, wall-seamless door assembly. ↩
"Mastering Pivot Doors: A Comprehensive Technical Overview", https://www.doornmore.com/blog/mastering-pivot-doors-a-comprehensive-technical-overview/?srsltid=AYCX9vJENlblu2jSQgIRgR6KTT4ZG_G0vlZlXdbCVge02luaLGtd0_Hn. Technical building-construction guidance explains that pivot doors carry vertical load through top and bottom pivot points, often with the lower pivot transferring load into the floor, supporting the article’s description of the pivot load path. Evidence role: mechanism; source type: education. Supports: A technical source should explain the load path of pivot doors, including how bottom pivots or floor pivots carry vertical load compared with side-hung hinges.. Scope note: The mechanism is general; actual load distribution depends on the specific pivot hardware and installation. ↩
"087100 – DOOR HARDWARE - Facilities and Campus Services", https://fcs.cornell.edu/087100-door-hardware. ANSI/BHMA performance standards use repeated-cycle testing to classify the durability of commercial door hardware, supporting the article’s emphasis on documented cycle ratings for heavy-use doors. Evidence role: statistic; source type: institution. Supports: Recognized hardware standards use cycle testing to classify durability for hinges, closers, locks, and related door hardware, with thresholds that can reach or exceed 100,000 cycles depending on product category and grade.. Scope note: The exact required cycle count varies by hardware category, grade, and application. ↩
"CE-MARKING OF CONSTRUCTION PRODUCTS - STEP BY ...", https://webgate.ec.europa.eu/circabc-ewpp/rest/download/71dcd47a-2f9b-46a5-b840-5e416c0afa77. European regulatory guidance on construction products supports the need to verify CE marking and declared performance through formal documentation, including relevant test or certification records for fire-related applications. Evidence role: general_support; source type: government. Supports: Government guidance should support that CE marking and fire-performance claims for construction products require appropriate declarations, standards, test reports, or certification documents in applicable jurisdictions.. Scope note: CE and fire-rating requirements vary by jurisdiction, product type, and the specific door assembly. ↩
"Magnetic Door Latches: Designs & Uses", https://www.iqsdirectory.com/articles/latch/magnetic-door-latches.html. A technical source on magnetic latching mechanisms supports that magnetic mortise locks can reduce latch projection and closing resistance during door operation, providing contextual support for claims of quieter or smoother latching. Evidence role: mechanism; source type: research. Supports: A neutral technical source should explain that magnetic latches use magnetic attraction and a retracting latch element, which can reduce projecting-latch friction during closing.. Scope note: Noise and resistance depend on the complete door, strike alignment, seals, and lock model, so the source would not prove identical performance in all installations. ↩
"Chapter 3: Operable Parts", https://www.access-board.gov/ada/guides/chapter-3-operable-parts/. The 2010 ADA Standards for Accessible Design state that operable parts, including many door-hardware elements, must be usable without tight grasping, pinching, or twisting of the wrist, supporting the article’s caution to consider accessibility in applicable markets. Evidence role: general_support; source type: government. Supports: Accessibility standards specify requirements for operable parts, including door hardware that can be used without tight grasping, pinching, or twisting of the wrist.. ↩
"Fire Doors and NFPA 80 FAQs", https://www.nfpa.org/news-blogs-and-articles/blogs/2025/04/11/fire-doors-faqs. Fire-door standards such as NFPA 80 support the requirement that components used on rated door assemblies be listed or approved for the assembly and documented for inspection, supporting the article’s instruction to verify certified closers and local approvals. Evidence role: expert_consensus; source type: institution. Supports: Fire-door standards require listed, labeled, or otherwise approved components and maintenance of the tested assembly, including closing devices where required.. Scope note: Specific closer requirements depend on the rating, occupancy, jurisdiction, and tested assembly. ↩
"Automatic Door Bottom Guide | Seal Gaps For Fire, Smoke ...", https://www.legacyllc.com/automatic-door-bottoms-guide/. Technical descriptions of automatic door-bottom seals support that these devices actuate a lower seal at door closure and retract it during opening to reduce drag, supporting the article’s mechanism explanation. Evidence role: mechanism; source type: research. Supports: A technical source should describe the plunger, cam, or actuation mechanism by which automatic door-bottom seals deploy at closing and retract at opening.. Scope note: Different products may use different actuation mechanisms, so a cited source may support the general principle rather than every design. ↩
""Four-Microphone Measurement of Transmission Loss of ...", https://docs.lib.purdue.edu/herrick/183/. Laboratory acoustic testing of door-bottom or threshold seals supports that sealing the under-door gap can measurably improve sound reduction, with reported gains dependent on the door assembly and test conditions. Evidence role: statistic; source type: paper. Supports: Acoustic testing should show the effect of sealing the door-bottom gap on sound transmission loss or sound reduction, ideally with decibel differences between sealed and unsealed thresholds.. Scope note: The 3–6 dB range should be confirmed against the specific cited test; results vary with door mass, perimeter seals, gap size, and installation quality. ↩
"Fire Doors and NFPA 80 FAQs", https://www.nfpa.org/news-blogs-and-articles/blogs/2025/04/11/fire-doors-faqs. Door-installation and fire-door clearance standards support the need for controlled, uniform perimeter gaps, while acoustic sealing guidance supports the conclusion that uneven gaps reduce sealing performance. Evidence role: expert_consensus; source type: institution. Supports: Door installation and fire-door standards commonly specify allowable perimeter clearances, and acoustic guidance emphasizes uniform gaps for effective sealing.. Scope note: The precise 2–3 mm target may differ by door type, rating, material, jurisdiction, and hardware system. ↩
"Fire Doors and NFPA 80 FAQs", https://www.nfpa.org/news-blogs-and-articles/blogs/2025/04/11/fire-doors-faqs. Fire-door assembly standards support that a fire rating applies to a tested and labeled assembly, including compatible frames, hardware, closers, and seals, supporting the article’s warning that fire-rated flush doors require certified configurations. Evidence role: definition; source type: institution. Supports: Fire-door standards define rated doors as assemblies whose doors, frames, hardware, glazing, seals, and related components must conform to tested and labeled configurations.. ↩