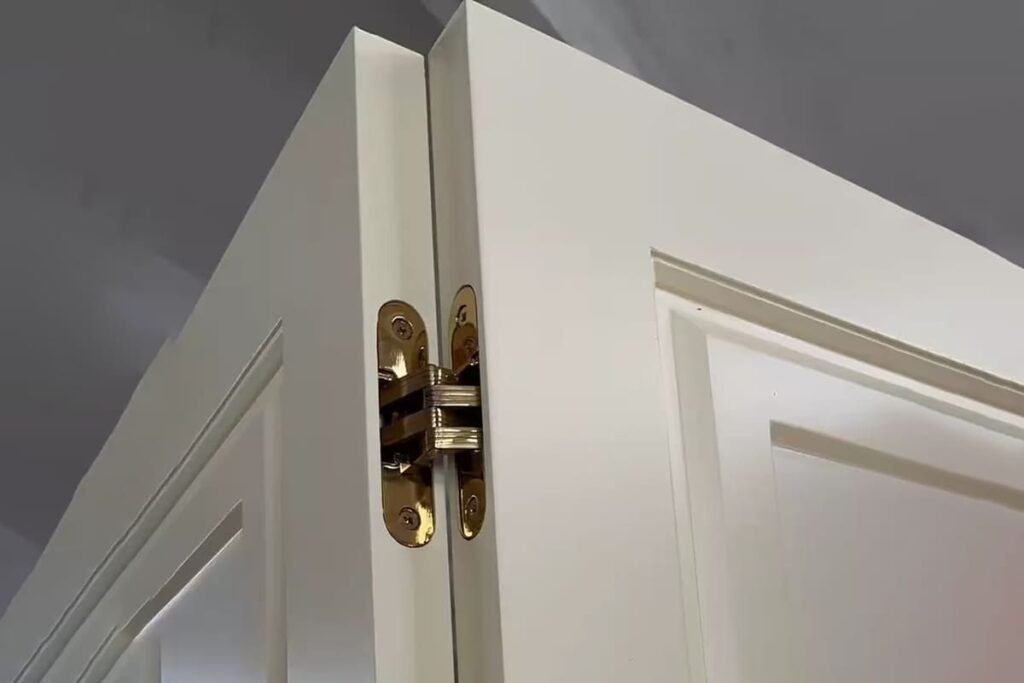
Why Concealed Hinged Doors Sag: Frame Rigidity, Routing Depth & Screw Selection
Concealed hinged doors sag even when the hinge catalog load rating looks correct, and that creates a frustrating problem for door factories, hardware brands, and wholesalers. I often see teams blame the hinge first, but the real risk is hidden in the full fixing system. The solution is to evaluate the hinge, screws, frame, routing, and installation holes together.
Concealed hinged doors usually sag because the hinge fixing system cannot hold alignment over time, not only because the hinge is weak. Buyers should check door weight, door thickness, frame material, frame width, profile wall thickness, routing depth, screw bite, screw thread depth, and installation hole accuracy before selecting or approving a concealed hinge.
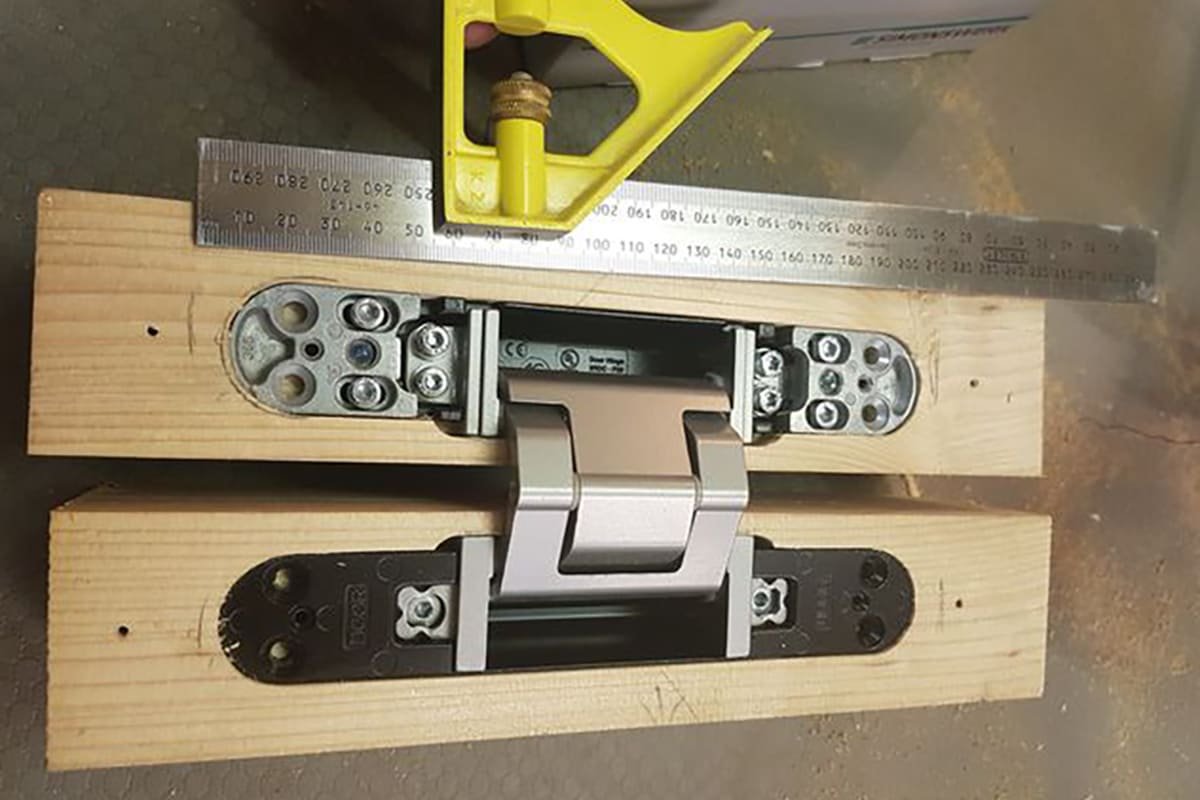
I have answered this type of pre-sales question many times at SDH Hardware. The best discussions rarely stop at “What is the hinge load capacity?” They go further and ask whether the door, frame, screws, machining, and hinge body can work as one stable structure.
Why do concealed hinged doors sag even when the hinge load rating looks sufficient?
Concealed hinged doors sag after installation can surprise buyers because the selected hinge may appear strong on paper. The problem becomes worse when a project has repeated door-gap issues, callbacks, or warranty disputes. I usually start by moving the discussion from “hinge strength” to “fixing structure strength.”
Concealed hinged doors can sag despite a sufficient hinge load rating because rated capacity assumes proper installation conditions1. If the frame material is soft, the screws cannot bite deeply, the routing pocket is inaccurate, or the fixing holes are misaligned, the hinge may loosen or shift even when the hinge body itself is correctly rated.
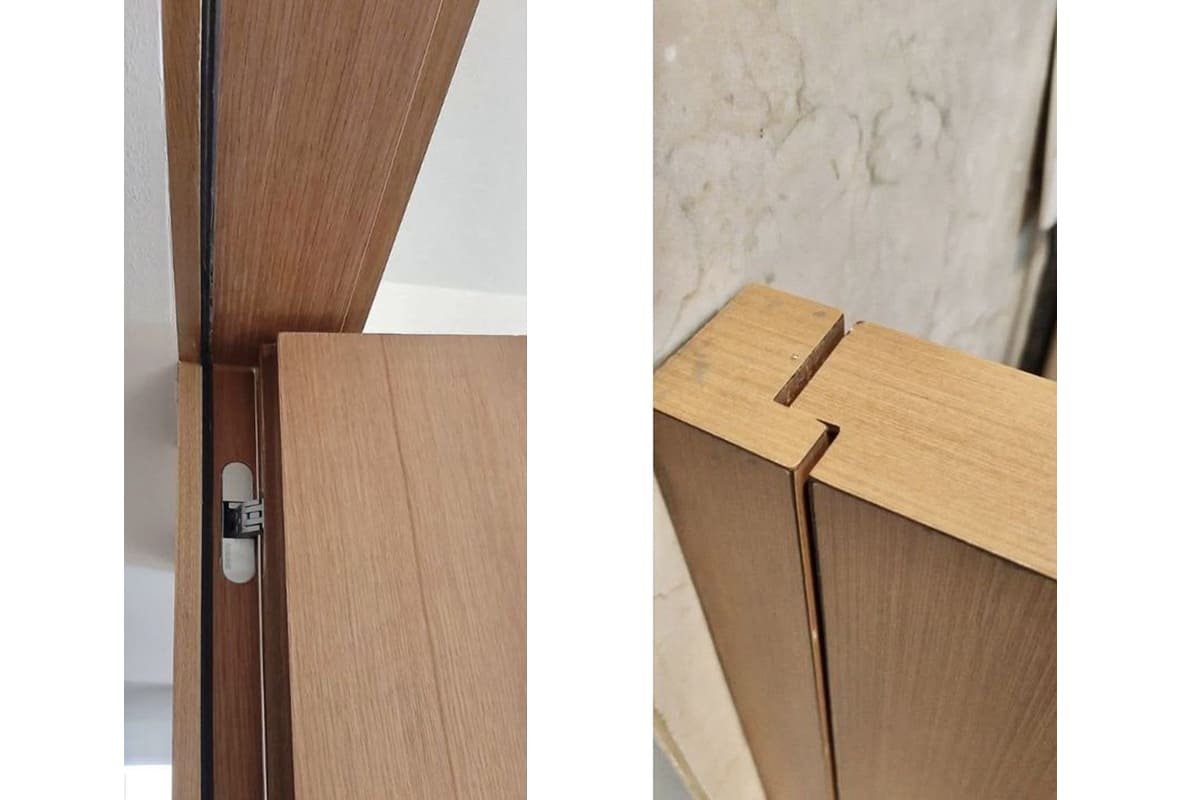
The hinge rating is only one part of the system
A concealed hinge load rating is useful, but it is not a complete project guarantee. I see this misunderstanding most often when a buyer compares only one number: “This hinge supports 80 kg, and my door is 60 kg, so it should be fine.” That logic is simple, but the door does not hang from the hinge body alone. It hangs from a chain of connected parts.
That chain normally includes:
- Door leaf material and thickness
- Hinge body and hinge arm design
- Screw size, thread depth, and steel grade
- Screw bite depth into the door and frame
- Frame material and profile geometry
- Routing pocket depth and flatness
- Pre-drilled hole position and diameter
- Installer torque and final adjustment
If any link is weak, concealed hinged doors sag even though the selected hinge looks suitable in a catalog.
A simple fixing-system view
I like to use a fixing-system table during B2B selection discussions because it helps teams avoid blame before they have data.
| Evaluation item | What buyers often check | What buyers should also check |
|---|---|---|
| Hinge rating | Maximum door weight | Door height, width, usage frequency, safety margin |
| Screw quantity | Number of screws supplied | Thread depth, screw diameter, bite depth, base material |
| Frame | Material name | Hardness, width, wall thickness, reinforcement |
| Routing | Pocket exists | Pocket depth, flatness, tolerance, alignment |
| Installation holes | Holes are drilled | Hole position, diameter, pre-drilling quality |
A tall door creates more leverage than a short door of the same weight.2 A heavy solid-core door also behaves differently from a lighter engineered door. A narrow aluminum profile may not hold screws the same way as a reinforced steel frame or a dense hardwood frame. These details change the real holding power.
I avoid diagnosing a jobsite failure without photos, measurements, and installation data. However, in customer discussions, I often find that sagging is first blamed on the hinge before screw bite, frame strength, routing depth, and hole accuracy have been checked.
Practical procurement takeaway
A buyer should not ask only, “Can this hinge carry 60 kg?” A better question is:
“Can this hinge, with these screws, in this frame profile, with this routing depth, hold this door over time?”
That question prevents many wrong selections. It also helps procurement, technical, and installation teams agree on the same acceptance criteria before mass production starts.
How do screw bite and shallow screw threads make concealed hinged doors sag?
Concealed hinged doors sag when screws look installed but cannot hold the hinge tightly under repeated load. This issue can be hard to see at first. The hinge body may be strong, yet the fixing screws gradually loosen because the screw thread is shallow, the screw specification is wrong, or the base material gives poor bite.
Screw failure is not only about screw quantity.3 Concealed hinged doors sag when screws cannot bite deeply and firmly into the door or frame. Shallow screw threads, undersized screws, poor pre-drilling, soft base material, and insufficient embedment depth can all reduce holding power and allow the hinge to move.
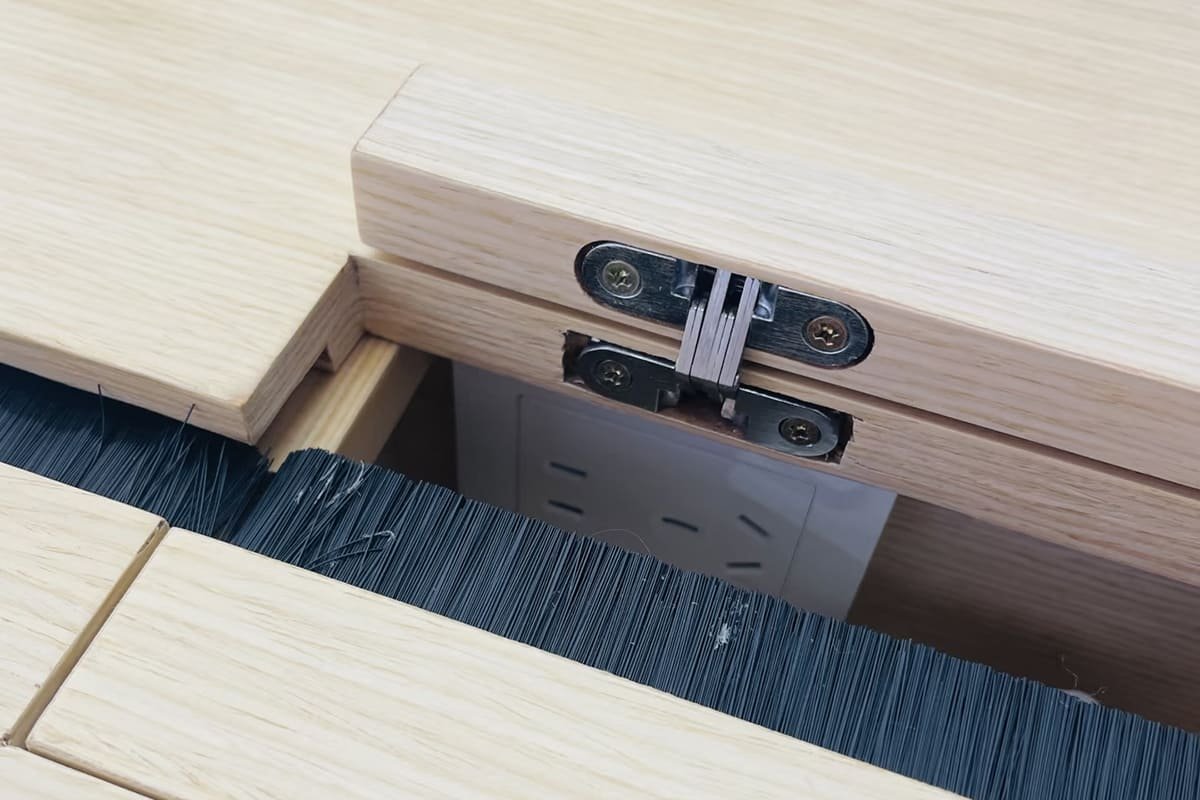
More screws do not always mean stronger fixing
I have heard customers say, “The hinge has many screw holes, so it must be secure.” I understand the logic, but screw performance depends on more than the count. A screw needs enough thread engagement with the base material.4 If the screw thread is too shallow, the screw may not pull the hinge plate tightly. In Chinese factory discussions, this is often described as “螺丝拉不住”—the screw cannot hold or pull firmly.
The cause may be the screw itself:
- The screw thread is too shallow.
- The screw diameter is too small.
- The screw length is too short.
- The screw head does not seat correctly.
- The screw material deforms under torque.
- The screw type does not match wood, aluminum, steel, or composite material.
The cause may also be the hole condition:
- The pre-drilled hole is too large.
- The pilot hole is not centered.
- The hole angle is wrong.
- The installer over-tightens the screw.
- The material around the hole cracks or strips.
Screw bite depth matters
A concealed hinge transfers door load into the frame through screws. If the screw bite is shallow, the hinge may sit tightly during inspection but loosen after repeated opening and closing. This risk increases on heavier doors, taller doors, and commercial doors with frequent use.
A basic procurement checklist should include:
Screw type
I check whether the screw is intended for timber, steel, aluminum, or another substrate.Screw diameter and length
I compare the screw specification with the hinge plate thickness, routing depth, and available frame section.Thread geometry
I look at whether the thread is deep enough to grip the material. Shallow threads may look neat but provide weak bite.Hole preparation
I confirm whether the factory should pre-drill, self-tap, or use inserts depending on the frame material.Torque control
I ask whether installers use controlled torque, because over-tightening can strip the hole5.
Common screw-related sagging risks
| Screw condition | Possible result | Buyer action |
|---|---|---|
| Shallow screw thread | Weak pull-in force | Confirm thread profile and test pull-out strength |
| Screw too short | Low embedment depth | Match screw length to frame and door structure |
| Pilot hole too large | Screw cannot bite | Specify hole diameter tolerance |
| Soft frame material | Thread strips easily | Use reinforcement, inserts, or different fixing method |
| Over-tightening | Material damage around hole | Use torque guidance during installation |
Why screw testing should be part of selection
For B2B buyers, a concealed hinge sample test should not stop at opening and closing the hinge by hand. I recommend a sample mock-up that uses the real door material, real frame profile, real screws, and intended routing method. This does not replace professional engineering evaluation for special applications, but it gives a more realistic view than hinge-only testing.
A useful internal test can include:
- Assembly of the hinge into the actual frame profile
- Repeated door opening and closing
- Inspection of screw loosening after cycles
- Door gap measurement before and after testing
- Pull-out or torque checks where practical
- Comparison between standard screws and upgraded screws
When concealed hinged doors sag because screws cannot hold, changing to a higher-rated hinge may not solve the problem. The project may need different screws, deeper thread engagement, reinforced fixing plates, threaded inserts, or a revised frame profile.
Why do frame material, frame width, and profile wall thickness make concealed hinged doors sag?
Concealed hinged doors sag more easily when the frame cannot support the fixing load. This issue often appears in slim-frame projects, soft materials, and thin-walled profiles. The hinge may meet the load requirement, but the frame may not provide enough substrate for the screws to grip.
Frame material, frame width, and profile wall thickness affect concealed hinge stability because they decide how much holding power the screws can develop.6 A soft frame, narrow frame section, or thin-walled profile may allow movement around the screws, so the weak point becomes the fixing substrate rather than the hinge.
The frame is part of the hinge structure
I often remind buyers that a concealed hinge is not installed into empty space. It depends on the door and frame to create a stable support. If the frame material is too soft, screws may turn without generating strong clamping force. If the frame is too narrow, the hinge may not have enough bearing area. If the profile wall is too thin, the screw may have too little material to hold.
This is why the same concealed hinge can perform differently in different projects.
For example:
- A reinforced timber frame may provide good screw grip.
- A soft wood or low-density composite frame may strip around the screw.7
- A thin aluminum profile may need reinforcement or inserts.8
- A narrow decorative frame may not provide enough routing support.
- A hollow steel profile may need special fixing preparation.
Soft material and thin profile risks
In customer language, this issue is often described as “螺丝不吃劲”—the screw does not get enough strength from the frame. The screw may rotate, but it does not lock into a strong substrate. The door can then settle, and the gap may become uneven.
Key risks include:
- Soft frame material: The screw thread compresses the material instead of gripping it.
- Narrow frame width: The hinge pocket removes too much material from the frame.
- Thin profile wall: The screw has limited engagement depth.
- Hollow profile: The screw may only grip one thin wall.
- Weak reinforcement: The hinge load is not transferred into the frame structure.
Frame evaluation table for buyers
| Frame factor | Why it matters | What I suggest checking |
|---|---|---|
| Material hardness | It affects screw holding strength | Confirm timber density, metal grade, or composite structure |
| Frame width | It affects hinge seat support | Compare hinge body width with available frame section |
| Wall thickness | It affects thread engagement | Measure profile wall thickness, not only outer size |
| Reinforcement | It spreads hinge load | Ask whether internal plates or inserts are required |
| Routing allowance | It affects remaining material | Check remaining wall after hinge pocket machining |
Why slim profiles need extra attention
Modern interior designs often prefer minimal gaps, hidden hardware, and slim profiles. I like the look, but slim design reduces the margin for fixing. A concealed hinge needs a pocket. That pocket removes material from the door and frame. If the frame is already narrow or thin, the remaining structure may not be stiff enough.
This matters for procurement because a buyer may approve a hinge based on door weight only. However, the project may later use a narrow frame profile that was not shown during hinge selection. That mismatch creates risk.
A better approval process should include:
- Door weight and dimensions
- Door thickness
- Frame material
- Frame width
- Profile wall thickness
- Reinforcement method
- Hinge model drawing
- Routing drawing
- Screw specification
- Installation tolerance
At SDH Hardware, I can support buyers with product drawings after order confirmation and pre-sales matching discussions before order placement. However, I still recommend that buyers verify application-specific decisions with qualified project engineers, especially for fire-rated doors, heavy commercial doors, or non-standard frame profiles. Certifications such as CE or fire-rated documents should also be checked against the exact product model and intended market requirements.
How do routing depth and inaccurate installation holes make concealed hinged doors sag?
Concealed hinged doors sag when routing depth or installation holes are inaccurate because the hinge loses proper seating and alignment. This issue can develop from small machining errors. A hinge pocket that is too deep, uneven, or mispositioned may reduce support and create visible door-gap problems.
Routing depth and installation hole accuracy are critical because a concealed hinge must sit flat, square, and fully supported. If the pocket is routed too deep, not opened to the correct shape, or drilled off-position, the hinge may twist, shift, or lose alignment under door weight.
Routing is not just a cosmetic step
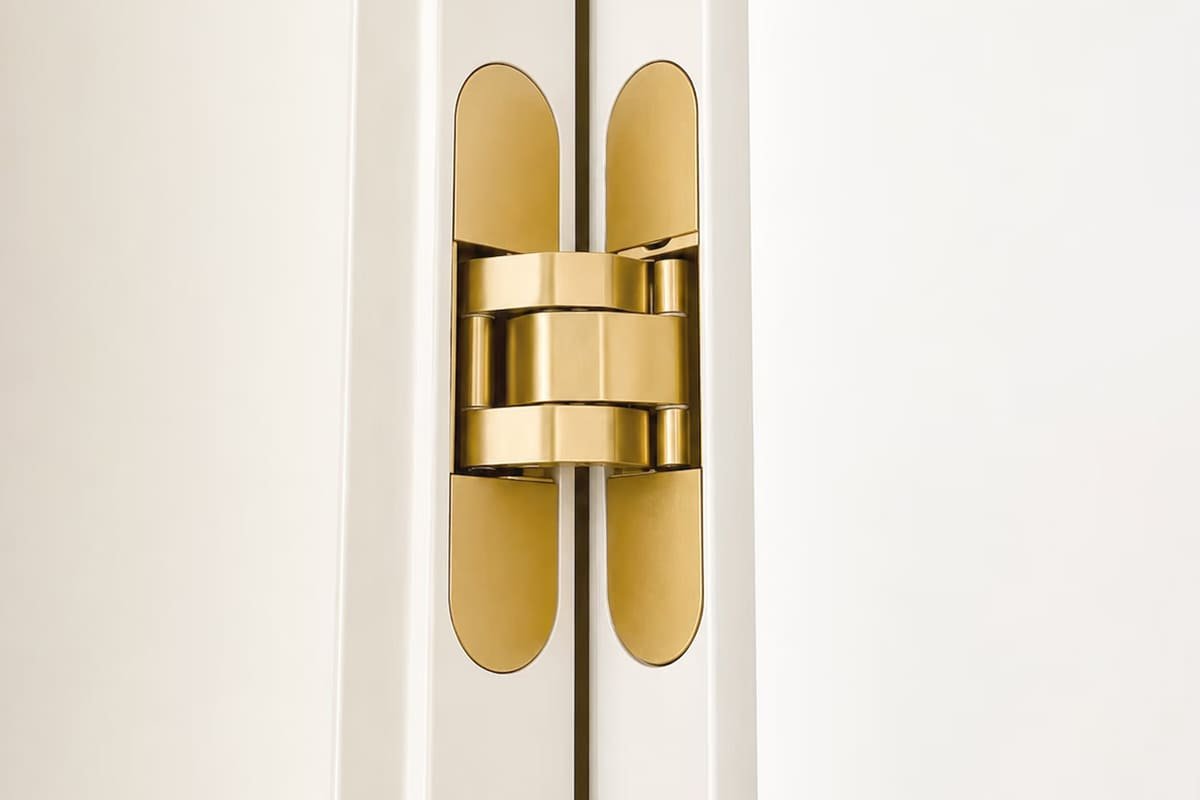
A concealed hinge needs a machined pocket in the door and frame. This pocket must match the hinge body.9 If the pocket is too shallow, the hinge may not close correctly or may force the door out of alignment. If the pocket is too deep, the hinge may lose surface support.10 If the bottom of the pocket is uneven, the hinge can sit at an angle.
I have seen buyers focus on the hinge drawing but forget to control the routing process. That creates inconsistent results across batches. One door looks good, while another door sags or has an uneven reveal.
Common routing problems include:
- The hinge pocket is too deep.
- The hinge pocket is too shallow.
- The routed surface is uneven.
- The corner radius does not match the hinge.
- The pocket is not square to the door edge.
- The frame pocket and door pocket are not aligned.
- The installer does not open the hole completely during installation.
The last point is important. If the installation hole is not opened to the correct position or depth, the hinge may be forced into place. The door may pass a quick visual check, but the hinge may work under stress from the first day.
How incorrect routing causes sagging
Concealed hinged doors sag from routing errors because the hinge needs support from the surrounding material. When routing is too deep, the hinge plate may sit below the intended surface plane. The screws may pull the plate unevenly. The hinge axis may shift. The door load then creates a small movement that becomes visible at the lock side of the door.
A few millimeters can matter. A concealed hinge is an adjustable precision component, but adjustment is not a substitute for correct machining.11 If the base pocket is wrong, adjustment may only hide the problem temporarily.
Routing and hole checklist
| Machining item | Risk if incorrect | Control method |
|---|---|---|
| Routing depth | Hinge lacks support or sits proud | Use gauge blocks or CNC depth control |
| Pocket flatness | Hinge twists under tightening | Inspect bottom surface after routing |
| Hole position | Screws pull hinge off-axis | Use templates or drilling jigs |
| Hole diameter | Screws strip or misalign | Set pilot hole tolerance |
| Pocket alignment | Door gap becomes uneven | Match door-side and frame-side drawings |
Why installation holes deserve procurement attention
Procurement teams sometimes treat installation holes as a workshop detail. I think this is risky in batch production. If a door factory produces hundreds or thousands of doors, small hole errors become repeated quality issues.12
A good technical package should include:
- Hinge model drawing
- Door-side routing drawing
- Frame-side routing drawing
- Screw hole diameter
- Hole center distance
- Minimum frame width
- Minimum material thickness
- Recommended screw type
- Adjustment range
- Inspection method after installation
I also suggest that buyers run a first-article installation check before full production. The team should hang one door with the real frame, real hinge, real screws, and real routing process. Then the team should inspect:
- Door reveal at top, lock side, and bottom
- Hinge seating flatness
- Screw tightening feel
- Adjustment range remaining after alignment
- Door movement after repeated opening
- Any visible frame deformation
This step can prevent arguments later. If the hinge, routing, and screws are checked before batch production, the buyer has better control over quality and delivery timing.
How should I evaluate the full fixing system before selecting a concealed hinge?
A concealed hinge selection can fail when procurement checks only price, finish, and rated capacity. That creates risk because concealed hinged doors sag from combined structural issues. I recommend a wider evaluation method that treats the hinge as one part of a complete door-fixing system.
Buyers should evaluate door weight, door size, door thickness, frame material, frame width, profile wall thickness, routing depth, screw specification, screw bite, and installation hole accuracy before choosing a concealed hinge. A sample test using real project materials gives better evidence than a hinge-only catalog comparison.
Start with the door data
I always ask for basic door data first because hinge selection depends on load and geometry. Weight matters, but height and width also matter because they affect leverage. A tall door puts more stress on hinge fixings than a compact door of similar weight.
Buyers should confirm:
- Door height
- Door width
- Door thickness
- Door weight
- Door core material
- Expected opening frequency
- Number of hinges per door
- Required opening angle
- Fire-rated or non-fire-rated application
- Market standard or certification requirement
For fire-rated or regulated projects, I recommend checking the relevant test report or certification document against the exact product and application. A certificate should not be treated as a general claim for every door assembly.
Match the hinge to the frame, not only the door
After door data, I check the frame. This is where many selection mistakes happen. A hinge may be suitable for the door weight, but the frame may not be suitable for the hinge fixing method.
A practical concealed hinge matching table can help:
| Project condition | Lower-risk direction | Higher-risk direction |
|---|---|---|
| Dense wood frame | Standard screws may work if tested | Poor pre-drilling can still strip holes |
| Soft wood frame | Longer/deeper-thread screws may help | Shallow threads may loosen |
| Thin aluminum profile | Reinforcement or inserts may be needed | Direct fixing into one thin wall may fail |
| Narrow frame | Compact hinge and strict routing control | Oversized pocket weakens frame |
| Heavy door | More hinges and stronger fixing system | Catalog rating without safety margin |
Confirm screw and routing details before order
A responsible B2B hinge inquiry should include more than a product photo. I suggest that buyers send drawings or clear measurements where possible. If drawings are not available, a sample frame section can be very helpful.
Key questions include:
What is the frame material?
I need to know whether the screw can bite strongly.What is the frame width?
I need to know whether the hinge body has enough seat area.What is the profile wall thickness?
I need to know whether the screw has enough engagement.What routing depth is planned?
I need to know whether the hinge will be supported correctly.What screw type will be used?
I need to know whether the thread and length match the substrate.How will installation holes be made?
I need to know whether CNC, jig drilling, or manual drilling controls the tolerance.
Use samples to reduce batch risk
For door factories and wholesalers, a small sample test is much cheaper than batch rework. I recommend testing the actual combination before committing to volume production. The sample does not need to be complicated, but it should represent the real project.
A practical test can include:
- One real door leaf or door section
- One real frame section
- Selected concealed hinges
- Intended screws
- Actual routing method
- Installer procedure
- Basic cycle opening test
- Door-gap measurement before and after
This process helps buyers avoid incorrect blame. If the test shows screw loosening, the team can revise the screw or frame reinforcement. If the test shows routing problems, the team can revise machining. If the hinge adjustment range is insufficient, the team can choose another model earlier.
As a manufacturer, I can support this process with concealed hinge options, drawings, surface finishes, OEM/ODM requirements, and factory-direct supply discussions. Still, I prefer to make careful recommendations based on the buyer’s real door and frame conditions rather than promise that one hinge model solves every site condition.
Conclusion
Concealed hinged doors sag when the hinge, screw bite, frame material, frame profile, routing depth, and installation holes are not matched as one fixing system. I do not assume sagging is always a hinge-quality issue or always an installer error. I check the full structure first. If you are selecting concealed hinges for door production, brand sourcing, or wholesale projects, contact SDH Hardware with your door and frame details, and I can help you compare suitable factory-direct concealed hinge options.
"A156.1 - 2025 Butts and Hinges", https://buildershardware.com/ANSI-BHMA-Standards/Hardware-Highlights/A1561-2025-Butts-and-Hinges. A hinge performance standard or standards-body guidance supports that hinge load ratings are assigned from prescribed tests and specified mounting conditions, so the rating is contextual rather than a guarantee of performance in any frame, screw, or routing configuration. Evidence role: expert_consensus; source type: institution. Supports: Hinge performance ratings are determined under defined test setups and installation conditions rather than serving as unconditional guarantees in every door and frame assembly.. Scope note: This would support the general principle of conditional ratings, not prove that any specific concealed hinge model will sag. ↩
"ARM architecture family", https://en.wikipedia.org/wiki/ARM_architecture_family. An engineering statics source supports that the moment produced by a load depends on both the magnitude of the load and its distance from the support, providing the mechanical basis for considering door height and geometry when evaluating hinge fixings. Evidence role: mechanism; source type: education. Supports: Moment and leverage depend on force and distance from the pivot or support, which explains why door geometry affects hinge stresses.. Scope note: This is contextual mechanical support; it does not quantify the exact leverage increase for the article's example doors. ↩
"Diameter", https://en.wikipedia.org/wiki/Diameter. A technical source on fastener withdrawal resistance supports that screw holding capacity varies with screw geometry, penetration depth, and base-material properties, which explains why the number of screws alone is an incomplete measure of fixing strength. Evidence role: mechanism; source type: government. Supports: Screw holding strength is affected by screw dimensions, penetration or embedment, and substrate properties, not merely by screw count.. ↩
"Fastener Design Manual", https://ntrs.nasa.gov/api/citations/19900009424/downloads/19900009424.pdf. A fastener design reference supports that adequate thread engagement is required for a screw to transfer load into the joined material and resist stripping or pull-out. Evidence role: mechanism; source type: government. Supports: Thread engagement is a key determinant of fastener load transfer and resistance to pull-out or stripping.. Scope note: General fastener-design evidence may not address concealed door hinges specifically. ↩
"Fastener Design Manual", https://ntrs.nasa.gov/api/citations/19900009424/downloads/19900009424.pdf. A fastener engineering reference supports that installation torque must be controlled because excessive torque can strip threads or damage the receiving material, reducing the joint's holding capacity. Evidence role: mechanism; source type: government. Supports: Excessive torque can damage threads, strip the receiving material, or reduce joint integrity.. ↩
"Screw withdrawal : a means to evaluate densities of in-situ ...", https://research.fs.usda.gov/treesearch/9112. Research and engineering references on screw pull-out behavior support that fastener holding capacity depends on the mechanical properties and thickness of the material into which the screw is installed, making frame material and profile geometry relevant to concealed hinge stability. Evidence role: mechanism; source type: research. Supports: Substrate material properties and available thickness affect screw pull-out and holding capacity.. Scope note: This supports the fastening mechanism generally and may not directly test the exact concealed hinge assemblies discussed in the article. ↩
"Wood Handbook, Chapter 08: Fastenings", https://research.fs.usda.gov/download/treesearch/37424.pdf. A wood engineering reference supports that screw withdrawal resistance is influenced by wood density or specific gravity, providing a basis for the claim that softer or lower-density frames may strip or hold screws less securely. Evidence role: mechanism; source type: government. Supports: Wood density or specific gravity is associated with screw withdrawal resistance, and lower-density substrates generally provide weaker holding.. Scope note: Evidence for wood may apply only contextually to engineered composites unless the selected source specifically includes composite panels. ↩
"Threaded Inserts for Plastics", https://www.spirol.com/assets/files/ins-threaded-inserts-design-guide-us.pdf. Engineering literature on fastening in thin metal sections supports that limited wall thickness reduces available thread engagement and that inserts or reinforcement can be used to improve pull-out resistance and load distribution. Evidence role: mechanism; source type: research. Supports: Thin metal sections can have limited thread engagement, and inserts or reinforcement can improve load transfer and pull-out resistance.. Scope note: This is contextual support for fastening design and does not establish a universal requirement for all aluminum frame profiles. ↩
"Common Concealed Hinge Installation Mistakes and How ...", https://www.tambee.com/blogs/news/common-concealed-hinge-installation-mistakes-and-how-diy-users-can-avoid-them. Technical installation guidance for concealed or mortised hinges supports that the hinge body is seated in a routed pocket whose dimensions and position must correspond to the hinge design for proper alignment and bearing. Evidence role: general_support; source type: institution. Supports: Concealed hinges are normally installed into routed or mortised pockets that must match the hinge dimensions to seat the hinge correctly.. Scope note: Installation guidance may be model-specific; it supports the general requirement rather than every concealed hinge design. ↩
"r/DIYUK - Hinges too deep, door won't shut?", https://www.reddit.com/r/DIYUK/comments/13qfw2c/hinges_too_deep_door_wont_shut/. Architectural hardware installation guidance supports that incorrect hinge mortise depth can prevent proper hinge seating and contribute to misalignment or inadequate bearing support. Evidence role: mechanism; source type: institution. Supports: Hinge mortise depth affects how a hinge seats and therefore affects door alignment, closing clearance, and support.. Scope note: This support is likely based on installation practice rather than controlled testing of concealed hinges under load. ↩
"Precision and recall", https://en.wikipedia.org/wiki/Precision_and_recall. A precision assembly or mechanical tolerance source supports that adjustment mechanisms have finite correction ranges and are intended to fine-tune assemblies made within specified tolerances, not to compensate for major machining errors. Evidence role: mechanism; source type: education. Supports: Assembly adjustment has finite range and depends on components being manufactured and installed within tolerance.. Scope note: This provides general engineering support and may not directly address concealed hinge adjustment systems. ↩
"Real-Time Monitoring and Control of Additive ...", https://www.nist.gov/programs-projects/real-time-monitoring-and-control-additive-manufacturing-processes. Quality-control literature supports that systematic process variation or repeated setup error can propagate defects through batch production, which explains why small drilling or routing errors may become repeated door-quality issues. Evidence role: general_support; source type: government. Supports: Uncontrolled process variation or repeated setup error in manufacturing can produce recurring defects across a production batch.. Scope note: This supports the production-quality principle but does not provide door-factory-specific defect rates. ↩