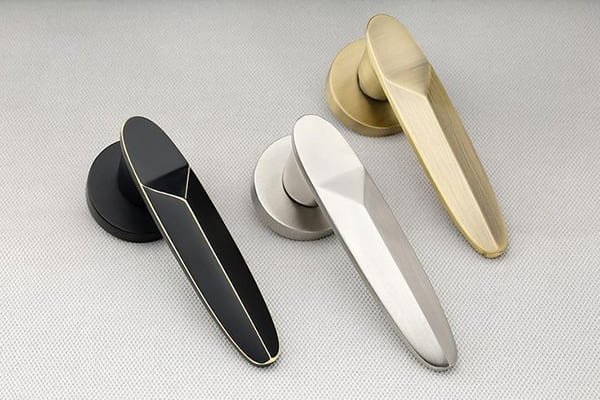
How do you switch a door handle?
To switch a door handle safely, I always start with compatibility, not a screwdriver. A handle that looks correct can still fail if the spindle, lock body, screw system, cylinder position, or door thickness does not match. That mismatch creates loose handles, stuck latches, and after-sales complaints. A structured inspection prevents those problems.
To switch a door handle, first identify the door hardware standard, measure the door and lock preparation, then remove the old handle, compare all fixing points, install the new handle with the correct spindle and screws, and test latch, key, and handle movement. The replacement should match the lock body, cylinder position, door thickness, and handle structure.
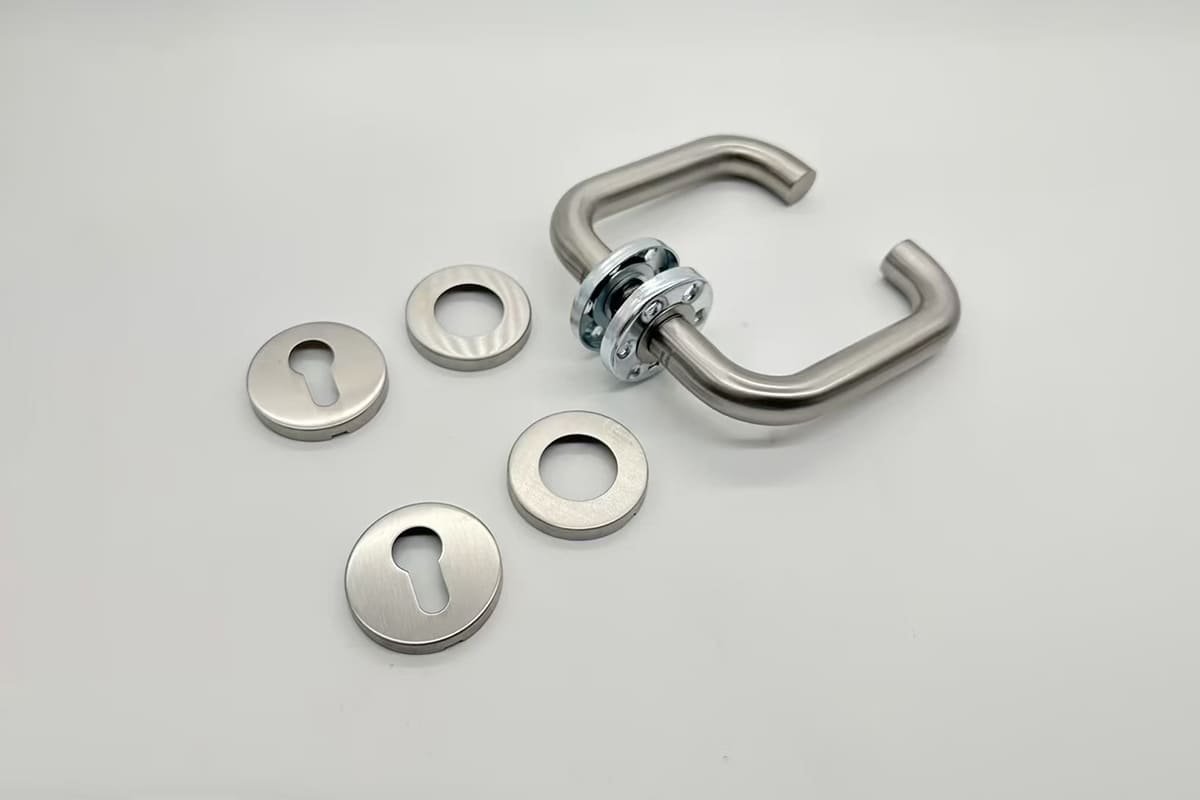
Many people treat handle replacement as a simple removal job. I see it differently. From a manufacturing and bulk procurement perspective, the handle, spindle, mortise lock, cylinder, screws, and door thickness work as one system. If one part does not match, the complete door set can fail.
What should I inspect before I switch a door handle?
If I switch a door handle without inspection, I risk discovering the problem too late. The new lever may cover the old holes poorly, the spindle may not engage the lock, or the cylinder may clash with the escutcheon. These issues are small on one door, but serious in a batch order.
Before switching a door handle, inspect the existing hardware standard, handle position, cylinder position, lock body type, rose or escutcheon structure, door thickness, spindle size, screw layout, and through-bolt spacing. These checks confirm whether the new handle can fit the existing door preparation without re-drilling or replacing the lock.
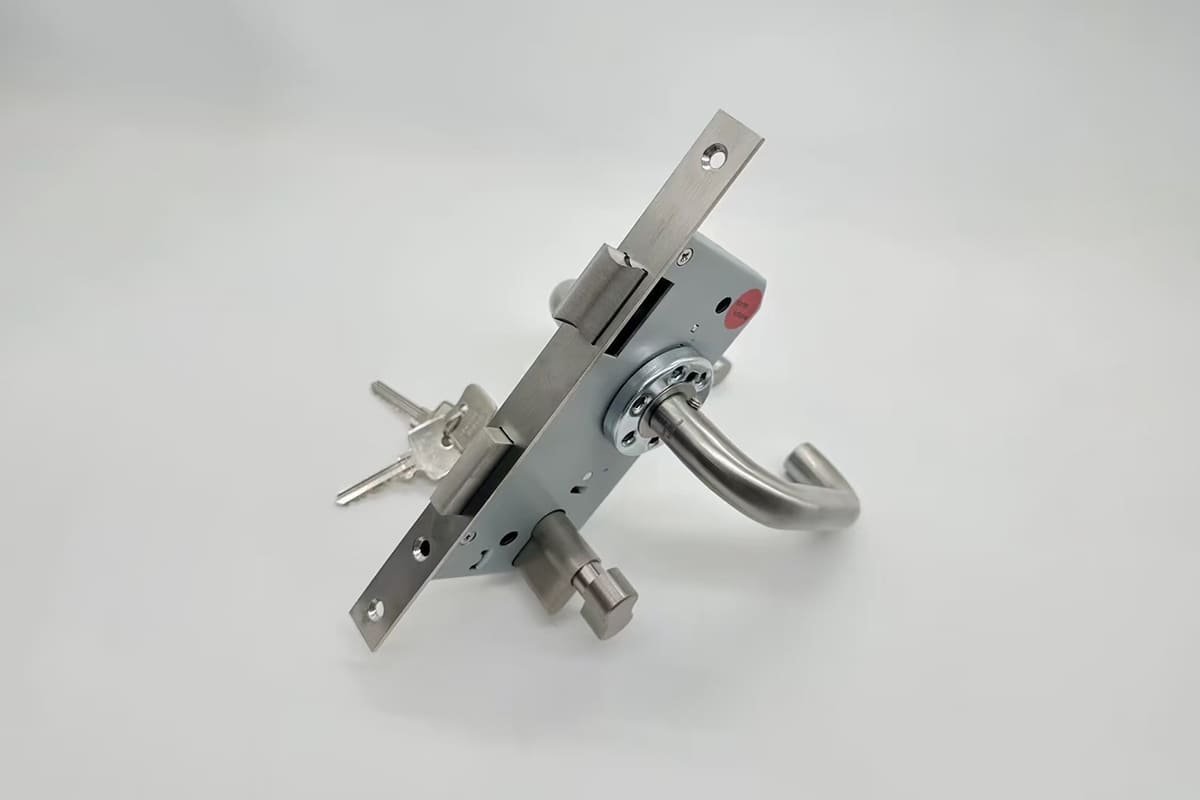
Start with the door hardware standard
I usually begin by identifying the hardware layout. This is important because Euro standard, American-style, and other regional systems do not always use the same relationship between handle, lock, and cylinder1.
For example:
- In many Euro standard mortise lock applications, the handle is commonly above the cylinder.2
- Some American-style layouts may place the cylinder above and the handle below.
- Project-specific or regional door preparations may use different backsets, centers, fixing systems, or escutcheon styles.
I do not treat these as universal rules. I treat them as standard-dependent checks. A buyer should always verify the actual drawing, lock case, and door preparation.
Inspect before removing anything
Before I remove the old handle, I like to photograph the door from both sides. This creates a simple record. It helps me compare:
- Handle orientation
- Screw positions
- Rose or escutcheon coverage
- Cylinder location
- Keyhole shape
- Distance between handle and cylinder
- Door edge lock body position
This habit is useful for individual repair. It is even more useful for door factories, distributors, and project buyers. If a customer sends only a handle photo, I often ask for additional measurements because the handle appearance alone does not prove compatibility.
Check the complete matching system
A door handle does not work alone. It works with several parts:
| Component | What I check | Why it matters |
|---|---|---|
| Mortise lock body | Spindle hub size, lock center, latch action | The handle must operate the latch smoothly |
| Spindle | Size, length, profile | A wrong spindle can slip or bind |
| Cylinder | Position, profile, key clearance | The escutcheon must not block key movement |
| Door thickness | Actual measured thickness | Screws and spindle length must suit the door |
| Fixing screws | Type, length, thread | Incorrect screws can loosen or damage the door |
| Rose or escutcheon | Shape and fixing method | It must cover old holes and align correctly |
In manufacturing, I often see after-sales problems caused by one ignored detail. A handle may pass visual inspection but fail during installation because the through-bolt holes do not match. Another handle may fit the door thickness but use a spindle that is too short. These are not product appearance problems. They are specification matching problems.
My rule is simple: I do not approve a replacement handle until the door preparation and lock body are checked together.
What measurements matter when you switch a door handle?
When I switch a door handle, measurement is the most important step. A few millimeters can decide whether the handle fits cleanly or creates installation failure. If the new handle is purchased before these checks, the buyer may face rework, returns, or inconsistent installation across a project.
The key measurements are door thickness, spindle size, spindle length, through-bolt hole spacing, screw type, handle-to-cylinder center distance, lock body standard, rose or escutcheon dimensions, and backset. Common examples include 8×8 mm spindles or M5 screw and sleeve systems, but exact dimensions depend on the product and regional standard.
Measure door thickness first
Door thickness controls several other choices. It affects spindle length, screw length, sleeve length, and handle fixing stability.3
Common project doors may use different thickness ranges, depending on market and door type. I avoid assuming one value. Instead, I measure the actual finished door thickness, including the surface layer if it affects hardware seating.
A handle set may use adjustable fixing parts, such as:
- Machine screws with sleeves
- Break-off screws
- Adjustable spindles
- Different screw lengths for different door thicknesses
For example, some lever handle sets may use M5 machine screw and sleeve combinations to suit a defined door thickness range. However, that range must be verified against the supplier’s technical drawing.
Confirm spindle size and lock hub
The spindle connects the lever handle to the lock body. If the spindle does not match the lock hub, the handle will not operate properly.
A common example in many Euro-style lever handle systems is an 8×8 mm square spindle4. However, I do not present this as universal. Other markets or product types may use different spindle sizes or profiles.
When I check the spindle, I look at:
- Square size or profile
- Total length
- Engagement depth into both handles
- Fit inside the lock follower
- Grub screw contact position
- Whether the spindle is split, solid, or special type
A loose spindle can cause handle sag. A tight or misaligned spindle can make the latch return slowly. Both problems may appear after installation, not during unpacking.
Verify through-bolt spacing
Through-bolts improve handle stability because they connect both sides of the handle through the door.5 But they only work if the holes match the lock case and door preparation.
In some Euro standard handle applications, I may see 38 mm through-bolt hole spacing6. This can be common in certain product systems, but it is not a global rule. Buyers should verify the product drawing and lock case design.
| Measurement | Common issue if wrong | Buyer action |
|---|---|---|
| Door thickness | Screws too short or too long | Measure finished door |
| Spindle size | Handle slips or binds | Match lock follower |
| Through-bolt spacing | Holes do not align | Check technical drawing |
| Handle-cylinder distance | Escutcheon mismatch | Measure centers |
| Rose diameter | Old holes remain visible | Compare coverage |
| Screw thread | Fixing failure | Confirm screw system |
Do not ignore the rose or escutcheon
The outside cover matters. A round rose, square rose, long plate, or escutcheon may hide different fixing methods. Some covers clip on. Some thread on. Some use small concealed screws.
I always check whether the new cover can:
- Cover the old door marks
- Align with existing holes
- Avoid cylinder obstruction
- Sit flat against the door surface
- Match the lock and handle orientation
For bulk procurement, I recommend asking the supplier for technical drawings before confirming the order7. Drawings reduce misunderstanding much better than photos. Photos show appearance. Drawings show whether the handle can actually fit.
How do I remove the old handle before installing a new one?
If I remove the old handle too quickly, I may lose useful reference information. The old spindle length, screw type, and fixing pattern can help confirm the replacement specification. I treat removal as an inspection process, not just demolition.
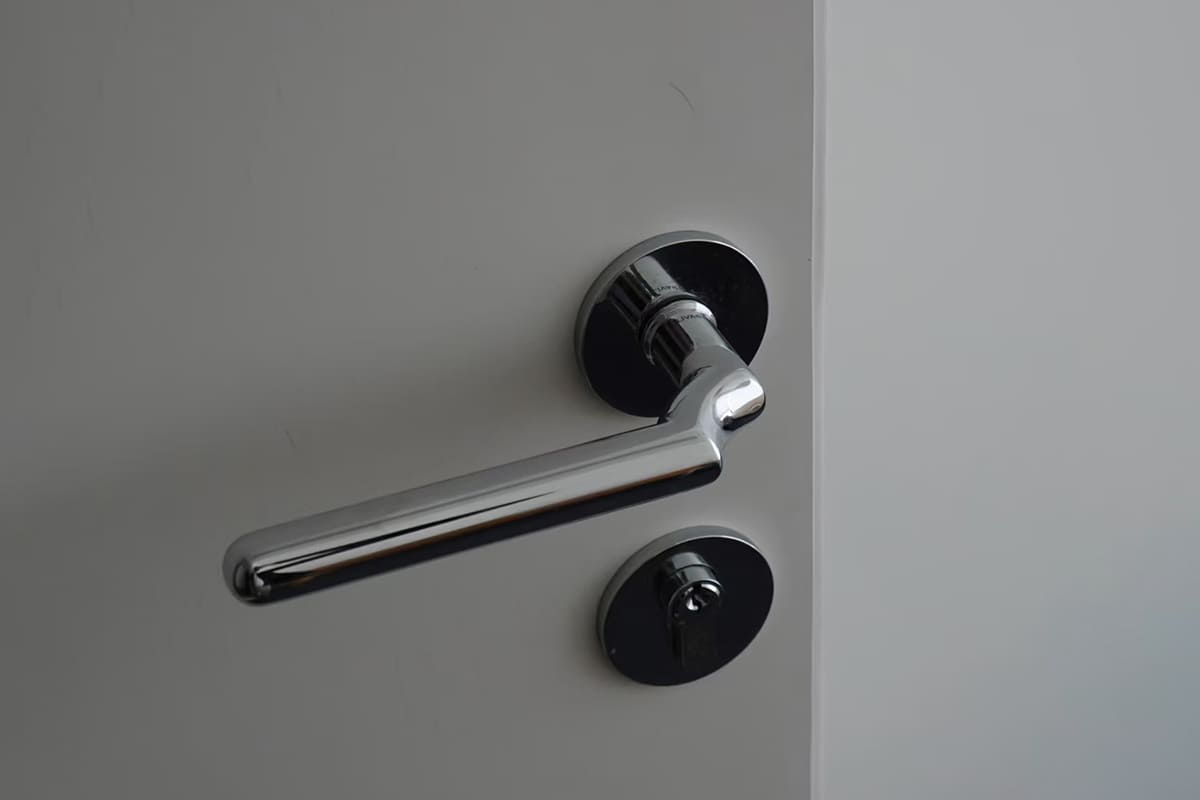
To remove the old door handle, open or remove the rose or escutcheon, loosen any grub screw, remove visible fixing screws or through-bolts, pull off both handles, and take out the spindle. Keep all parts organized so you can compare them with the new handle before installation.
Use the old handle as a reference sample
When I guide customers through replacement-spec matching, I often ask them to keep the old hardware until the new set is confirmed. The old parts can answer many questions:
- What spindle size was used?
- Was the spindle solid or split?
- Were the screws wood screws or machine screws?
- Did the handle use through-bolts?
- Was the rose clipped, threaded, or fixed by screws?
- Did the escutcheon cover old preparation marks?
- Was the lever handed or reversible?
This information is especially valuable when the original project drawings are missing.
A careful removal sequence
A practical removal process usually looks like this:
Open the door and support it.
I keep the door stable so the handle does not drop or damage the surface.Find the fixing method.
I check for visible screws, hidden grub screws, removable covers, or through-bolts.Remove the rose or escutcheon cover.
Some covers pry off gently. Some unscrew. Some are held by a small fixing point.Loosen the grub screw.
Many lever handles use a grub screw to lock the lever onto the spindle.8Remove fixing screws or through-bolts.
I keep these screws because they help confirm thread and length.Pull off both handles.
I avoid twisting hard because that can damage the door face.Remove the spindle.
I inspect wear marks, length, and profile.Check the lock operation without the handle.9
I confirm whether the latch and lock body move freely before blaming the handle.
Compare old and new parts before installation
After removal, I place the old and new components side by side. This simple comparison prevents many errors.
| Part | What I compare | Acceptable result |
|---|---|---|
| Spindle | Size, length, profile | Matches lock and handle |
| Screws | Thread, length, head type | Fits fixing sleeves or door |
| Rose/escutcheon | Diameter, shape, thickness | Covers marks and aligns |
| Lever | Handing and return spring | Correct direction and feel |
| Through-bolts | Spacing and position | Aligns with lock case holes |
If I notice a mismatch, I stop. I do not force the new handle onto the door. Forced installation may enlarge holes, bend screws, damage the lock follower, or create handle movement problems later.
For buyers managing multiple doors, this step should become a standard inspection point. One sample installation should be approved before the full batch is installed.10 This approach reduces risk for door factories, hardware distributors, and project contractors.
How do I install and test after I switch a door handle?
After I switch a door handle, the job is not complete until the function is tested. A handle can look straight but still bind when the screws are tightened.11 I always test the latch, lever return, key movement, and screw stability before approving the installation.
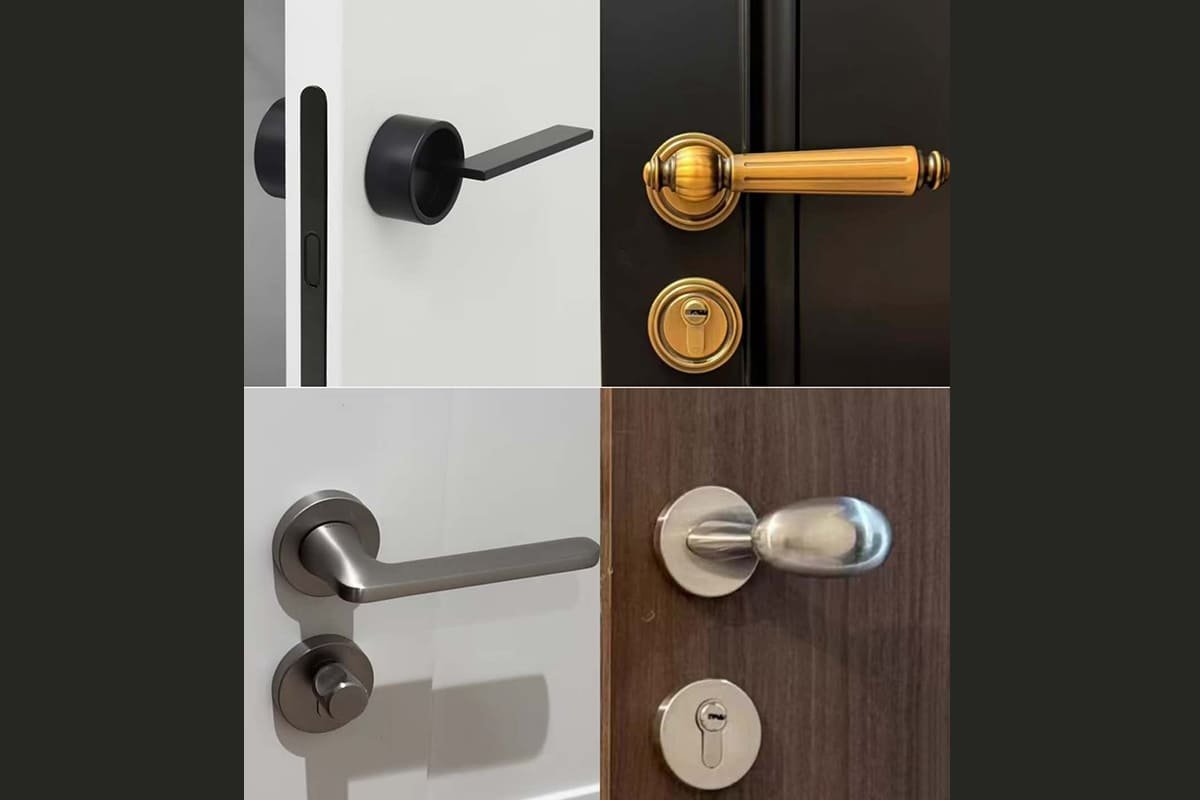
To install and test a new door handle, insert the correct spindle, fit both handles, align the rose or escutcheon, tighten through-bolts and fixing screws evenly, secure the grub screw, and reinstall covers. Then test latch retraction, handle return, cylinder key movement, screw tightness, and door closing performance.
Install conditionally, not blindly
Installation depends on the handle structure. A rose handle, long plate handle, and handle-on-escutcheon set may have different fixing steps. Still, I usually follow this logic:
Confirm lock body movement first.
I operate the latch with the spindle before fitting the handles.Insert the spindle.
I make sure it sits correctly in the lock follower.Fit the inside and outside handles.
I check that both sides sit flat against the door.Align fixing points.
I do not tighten fully until all screws are started.Tighten through-bolts evenly.
Uneven tightening can pull the handle off-center.Secure the grub screw.
The grub screw should contact the spindle correctly.Reinstall the rose or escutcheon.
I check that the cover does not rub against the lever neck.Test before closing the door fully.
I avoid locking myself into a failure condition.
Functional testing checklist
A replacement should pass more than a visual check. I use this basic functional checklist:
- Latch retracts fully when the lever is pressed.
- Latch returns smoothly when the lever is released.
- Handle stays horizontal and does not sag.
- Cylinder turns freely with the key.
- Key can be inserted and removed easily.
- Door closes without forcing.
- No screw head interferes with the lever or cover.
- No rose or escutcheon rubs against moving parts.
- Both sides operate consistently.
- Tightening screws does not restrict movement.
This last point is important. Sometimes a handle works well when screws are loose, then becomes stiff after final tightening. That usually means the handle, spindle, lock follower, or fixing points are slightly misaligned.
Common installation problems and likely causes
| Problem after installation | Possible cause | What I check first |
|---|---|---|
| Handle does not return | Screws too tight, spring issue, spindle binding | Loosen screws slightly and test |
| Latch does not retract fully | Wrong spindle size or poor engagement | Check spindle fit in lock hub |
| Handle feels loose | Short screws, loose grub screw, poor through-bolt fit | Check screw length and spindle lock |
| Key is hard to turn | Escutcheon misalignment or cylinder pressure | Loosen cover and retest |
| Lever sits at an angle | Incorrect spindle position or handle structure issue | Compare old and new set |
| Cover does not sit flat | Door surface issue or wrong fixing plate | Check door preparation |
For bulk buyers, I recommend testing a sample door under realistic conditions. If the door is fire-rated, acoustic-rated, or project-specified, the buyer should verify that the selected hardware and certificates are suitable for that application.12 Certifications such as CE or fire-rated documents should be requested, checked for validity, and matched to the actual product model and intended use.
From my manufacturer perspective, I see the best results when buyers combine sample fitting, drawing confirmation, and functional testing before mass installation. This is more reliable than judging by catalog photos alone.
Frequently Asked Questions
Can I switch a door handle without changing the lock?
Yes, I can switch a door handle without changing the lock if the new handle matches the existing lock body, spindle size, screw layout, door thickness, and cylinder position. If those items do not match, I may need a different handle set or a compatible lock body.
What is the most common mistake when replacing a door handle?
The most common mistake is buying by appearance only. A handle may look similar but use a different spindle, screw spacing, rose structure, or escutcheon layout. I always measure the old hardware and check the lock body before selecting the replacement.
Is an 8×8 mm spindle always standard?
No, an 8×8 mm spindle is a common example in many Euro-style lever handle systems, but it is not universal. I always verify the spindle size against the lock follower, handle design, and regional hardware standard before installation or bulk procurement.
Why does the handle become stiff after I tighten the screws?
The handle may become stiff because the screws pull the handle off-center, compress the rose too tightly, or create spindle misalignment. I usually loosen the screws slightly, test movement, realign the handle, and tighten evenly again.
Should project buyers request samples before bulk orders?
Yes, project buyers should request samples or technical drawings before bulk orders. A sample fitting helps confirm door thickness range, spindle compatibility, screw system, finish consistency, and lock operation before large-scale installation begins.
Conclusion
To switch a door handle correctly, I focus on compatibility before installation. I check the door standard, lock body, cylinder position, spindle, screw system, through-bolt spacing, door thickness, and handle structure first. Then I remove the old handle carefully, compare all parts, install the new set, and test function. If you are sourcing door handles for projects, distribution, or door production, contact SDH Hardware for specification-aware support and compatible architectural door hardware solutions.
"Mortice Door Lock with European Cylinder Hole - No. H22.1090.007", https://affdoorhardware.com/mortice-door-lock-with-european-cylinder-hole-no-h22-1090-007/?srsltid=AfmBOoqmG9KcOECBBXQ2EUiUeO0SK_q-FK29AnroItrTOfWmW3YRt3aN. Institutional standards for architectural door hardware describe lock and trim preparations as dimensioned systems, supporting the point that handle, lock, and cylinder relationships vary by hardware standard. Evidence role: general_support; source type: institution. Supports: Regional door hardware standards define different lock, cylinder, trim, and preparation dimensions.. Scope note: Such sources may support the standards-based variation generally rather than proving every regional layout mentioned in the article. ↩
"Multipoint-Lock-Glossary-of-Terms", https://www.allaboutdoors.com/Article-Multipoint-Lock-Glossary-of-Terms?srsltid=AfmBOooe3P92dOmNV8ppXUGSA_HvdsCEObDjfzKEtNql9ZymwTwqxHhX. Technical references for Euro-profile mortise locks show the lever follower positioned above the profile-cylinder opening in common lock-case layouts, supporting this as a typical arrangement rather than a universal rule. Evidence role: case_reference; source type: institution. Supports: Euro-profile mortise lock diagrams commonly show the lever follower above the profile cylinder aperture.. Scope note: The support is contextual because Euro-style locks can vary by manufacturer, national standard, and project specification. ↩
"SECTION 08 71 00- DOOR HARDWARE", https://coloradomtn.edu/wp-content/uploads/filebase/purchasing/786-18/Vestibule-Door-Hardware-08710.pdf. Architectural hardware installation specifications commonly require hardware components to be selected according to door thickness, supporting the mechanism by which spindle and fastener length affect proper installation. Evidence role: mechanism; source type: institution. Supports: Door hardware installation specifications use door thickness to determine spindle, screw, and fastener lengths.. Scope note: The source may describe the sizing relationship generally and not the exact handle model discussed in the article. ↩
"Door Handle Spindle 8x8 mm Square Metal 140 mm for Thick ...", https://www.sparta-fittings.eu/en/door-handle-spindle-8x8-mm-square-metal-140-mm-for-thick-interior-doors-trzpienie-redukcje-wkrety-elementy-do-klamek-klamki-do-drzwi. Door-hardware technical references identify 8 mm square spindles as a common spindle format for lever handles in European-style systems, supporting the dimensional example used in the article. Evidence role: general_support; source type: institution. Supports: Euro-style lever handle systems often use square spindles around 8 mm in size.. Scope note: This does not establish that 8×8 mm is universal or suitable for all lock followers. ↩
"087100 – DOOR HARDWARE - Facilities and Campus Services", https://fcs.cornell.edu/087100-door-hardware. Architectural hardware references describe through-bolted trim as a fixing method that mechanically connects hardware across the door thickness, supporting its role in improving mounting stability. Evidence role: mechanism; source type: institution. Supports: Through-bolted handle trim secures hardware through the door rather than relying only on surface screws.. Scope note: The degree of stability depends on the door material, lock case, hole preparation, and fastener design. ↩
"Did you know there are different standards for door handles ...", https://www.instagram.com/reel/DNyNygT0DwE/. Technical specifications for some European lever-handle systems identify 38 mm fixing centers, supporting the article’s use of this dimension as a product-system example. Evidence role: case_reference; source type: institution. Supports: Certain European lever-handle systems specify or commonly use 38 mm fixing centers.. Scope note: The source would support 38 mm as an example in certain systems, not as a global or universal through-bolt standard. ↩
"Manufacturing and Quality | www.waru.edu", https://www.waru.edu/tools/dau-systems-engineering-brainbook/design-considerations/manufacturing-quality. Technical product documentation standards treat drawings as formal carriers of dimensional and specification information, supporting the article’s claim that drawings are important for procurement verification. Evidence role: general_support; source type: institution. Supports: Technical drawings communicate dimensions and specifications more precisely than photographs in manufacturing and procurement contexts.. Scope note: This supports the general documentation principle rather than proving outcomes for door-handle orders specifically. ↩
"What are these bloody screws I have to keep screwing back into ...", https://www.reddit.com/r/DIYUK/comments/1fx32ia/what_are_these_bloody_screws_i_have_to_keep/. Educational hardware references describe grub screws, also called set screws, as fasteners used to secure a lever or knob to a spindle, supporting the mechanism described in the removal sequence. Evidence role: mechanism; source type: education. Supports: Lever handles may use a grub screw or set screw to secure the lever to the spindle.. Scope note: The source may describe a common fastening method and not imply that all lever handles use this design. ↩
"How To Fix A Stuck Door Knob: A Simple Step-by-Step Guide", https://www.hiatt-hardware.com/blog/post/how-to-fix-a-stuck-door-knob. Door-hardware maintenance guidance supports testing components separately to distinguish lock-body operation from trim or handle faults. Evidence role: mechanism; source type: institution. Supports: Door hardware troubleshooting can isolate latch or lock-body faults from lever-handle installation problems.. Scope note: The source may provide general troubleshooting principles rather than the exact step-by-step method used in the article. ↩
"First article inspection", https://en.wikipedia.org/wiki/First_article_inspection. Quality-management and construction-inspection references describe sample approval or first-article inspection as a method for verifying requirements before wider implementation, supporting the article’s batch-installation practice. Evidence role: general_support; source type: institution. Supports: Sample approval, mock-ups, or first-article inspection are recognized quality-control practices before wider production or installation.. Scope note: The support is contextual because it addresses quality control generally rather than door handles exclusively. ↩
"Easy Ways to Fix a Door Handle That's Stiff and Hard to Turn", https://thelockshop.com.au/blogs/news/easy-ways-to-fix-a-door-handle-thats-stiff-and-hard-to-turn?srsltid=AfmBOoqa0GcUOWQOL5uZs6visaRjAGzvObWEBQrGmXqIdUf8OZUhh2Sc. Door-hardware installation guidance identifies misalignment and excessive fastening pressure as conditions that can interfere with proper lever and latch operation, supporting the article’s troubleshooting explanation. Evidence role: mechanism; source type: institution. Supports: Improper alignment or excessive tightening during handle installation can restrict lever or latch movement.. Scope note: The source may not quantify the amount of tightening that causes binding for a specific product. ↩
"Doors, Windows and Related Hardware Application Guide", https://www.ul.com/thecodeauthority/knowledge/ul-fire-rated-doors-guide. Fire-door guidance and building-safety authorities state that hardware used on rated door assemblies must be compatible with the tested or certified assembly, supporting the need to verify certificates against the product and intended use. Evidence role: expert_consensus; source type: government. Supports: Fire-rated door assemblies require compatible, appropriately certified or listed hardware for the rated application.. Scope note: Regulatory requirements vary by jurisdiction and by the specific door assembly rating. ↩