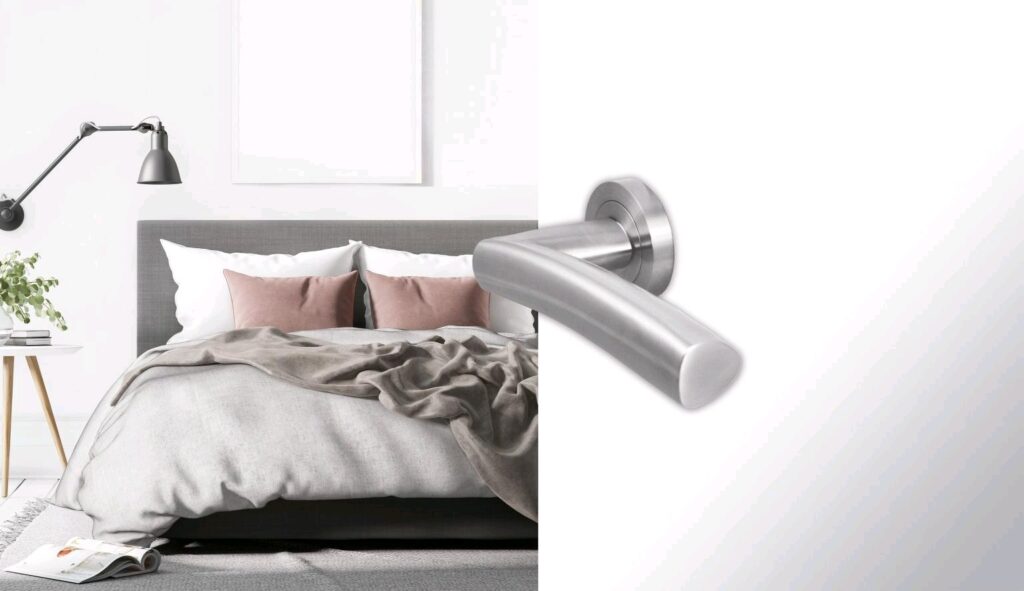
You may need to install a door handle or replace an old door handle that’s no longer fit for purpose. Sometimes, you might simply want to upgrade the aesthetics of your door by choosing a replacement handle.
If you have never fitted a door handle or other door hardware, this step-by-step guide can help.
Even if you have experience, it covers what you need to know about door handles. When install a door handle yourself, always check the product manual before you start and handle any tools with caution. Some door handles may require a professional to install them.
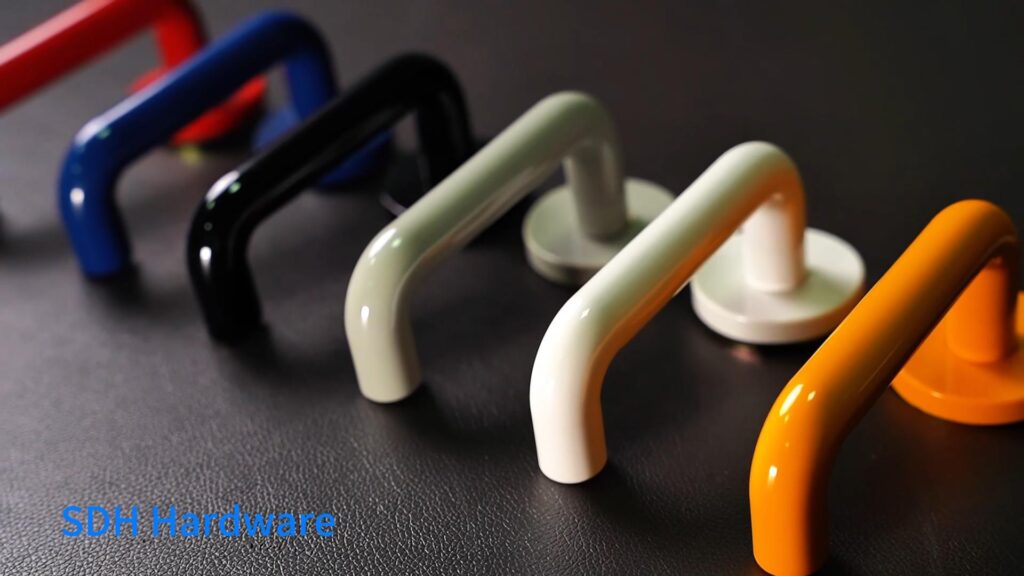
Why would you need to replace or install a door handle
Several reasons explain why a new handle may be a necessity or a choice:
- To improve the aesthetics of your home or the door itself
- The door handle is broken and no longer functioning properly
- You have bought a new uPVC door
- You have modified the exterior of your home and the old door handle no longer blends with the new style
When you decide to upgrade your property’s exterior, you may need to choose a new door handle.
This can be part of a full makeover or a smaller update.
You might replace only the door, the lock, or just the handle.
Many different styles and varieties of door handle can give your house a chic and sleek appearance. If the door handle no longer works and looks worn out, you need a new handle.
Is it possible to install a door handle on every type of door?
Different doors need different handles or doorknobs.
This is often set by the old handle.
You may want to cover any holes left after you remove it. You may find that some makers include specific parts. These parts can be square or rounded plates. This helps your new handle fit your existing door.
What tools will you need?
The main tools that you will require to successfully install your new door handle are:
- The new door handle kit
- A deadbolt kit (although this may come included with your handle)
- A powerdrill with countersink bit
- Electric flathead screwdriver
- Hammer
- Woodblock
- Measuring tape
- Pencil
- Chisel
Of course, these items may vary slightly by door handle model.
However, these are the standard items you can use to fit the new handle.
How to remove the old handle
Before you fit the new handle, remove the old handle if you are replacing one on your door.
Step 1: Remove the screws
Begin with removing the screws from the faceplate. You can find this behind the door handle on the outside your door. Remove any mounting screws from the exterior, using either your drill or your electric screwdriver. When you have completed this, turn to the interior of the door and remove any screws from the lever.
Step 2: Remove the levers
If you are fitting the door handle alone, use one hand to grasp the interior level. If you have someone helping you, you can ask them to hold it for you. Using your other hand, hold the exterior lever and slowly work them apart to make sure they separate. Once they have sufficiently loosened, pull them away from the door.
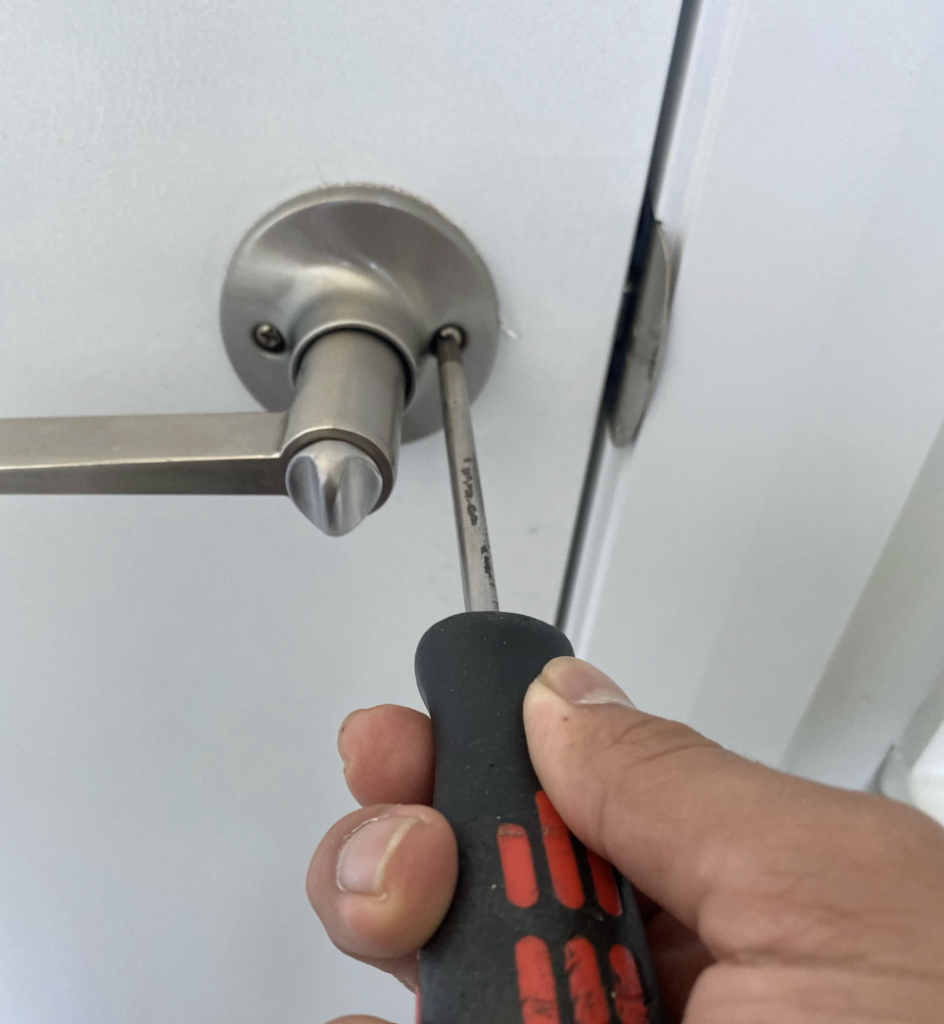
Step 3: Remove the latch plate
Remove any screws that are keeping the faceplate of the latch assembly attached to the door and prise it away from the door. The latch cylinder should also come out when you remove the plate.
Step 4: Remove jamb plate
Unscrew the screws that secure the strike plate to the door jamb and the plate should easily come away from the door.
How to install your new door handle
Once you have removed your old handle and you have your new door handle kit, then you are ready to fix it to the door.

Step 1: Install the latch
First, slide the latch assembly into the borehole on the door’s edge. Make sure the bolt faces the right direction. When you shut the door, make sure the latch bolt’s curved edge faces the strike plate. Use the screws provided in your assembly kit to secure the faceplate to the door.
Step 2: Install the outside handle
To attach the outside handle to the door, insert the axle or the spindle through the latch cylinder at a 90-degree angle. Ensure the new handle lines up with the holes from the old handle. This improves both its look and function.
Do not use the screws to attach the outside faceplate to the door yet. Wait until you install the interior handle first.
Step 3: Install inside handle
Attach the inside lever or knob to the inside of the door and connect it to the exterior handle. As the outside and inside handles join, you should feel that they are well-fitted together. Once you join them, insert the screws through the inside faceplate and tighten them with your electric screwdriver. At this point, you can also secure the exterior faceplate with screws.
Step 4: Install deadbolt
When you are ready to install the door lock, attach the latch bolt to the upper cross bore. Make sure it is in the correct position. Then secure the faceplate with screws. Finally, install the deadbolt mechanisms on the interior and exterior of the door.
Step 6: Test handle
Once your handle is fully installed, test it to ensure that it works and runs smoothly. Close the door to make sure that there is no sticking or binding when it closes. If you do find that it sticks, check to see if the latch bolt and the hole that is in the strike plate, then you will need to remove the strike plate.
You can use a chisel to extend the mortise so that the bolt and the strike plate line up. When you have done this, you can reattach the strike plate and retest the door. Additionally, ensure that the door lock works smoothly and correctly and you have now fitted your new handle.
If you cannot fix or replace the handle, you may need a professional. You may also need a new door.
To learn more about buying a new door and the options available to you, please contact our team of experts today.
Step 5: Install strike plates
Using screws, secure the strike plate to the door jamb inside the mortise.
FAQs
Can you install a door handle yourself?
Yes. Most homeowners can install a door handle using basic tools. Vufold’s ready-to-install doors include pre-drilled handle holes and clear fitting instructions, making installation simple for confident DIYers.
How do I know what door handle I need?
Check the door’s thickness, lock type, and backset measurement. Handles for uPVC, composite, and timber doors all differ slightly, so it’s important to choose one designed for your specific door type.
What must be checked before installing door handles?
Before fitting a new handle, ensure the latch and lock align correctly, check screw hole positioning, and verify that the handle spindle length matches the door thickness.